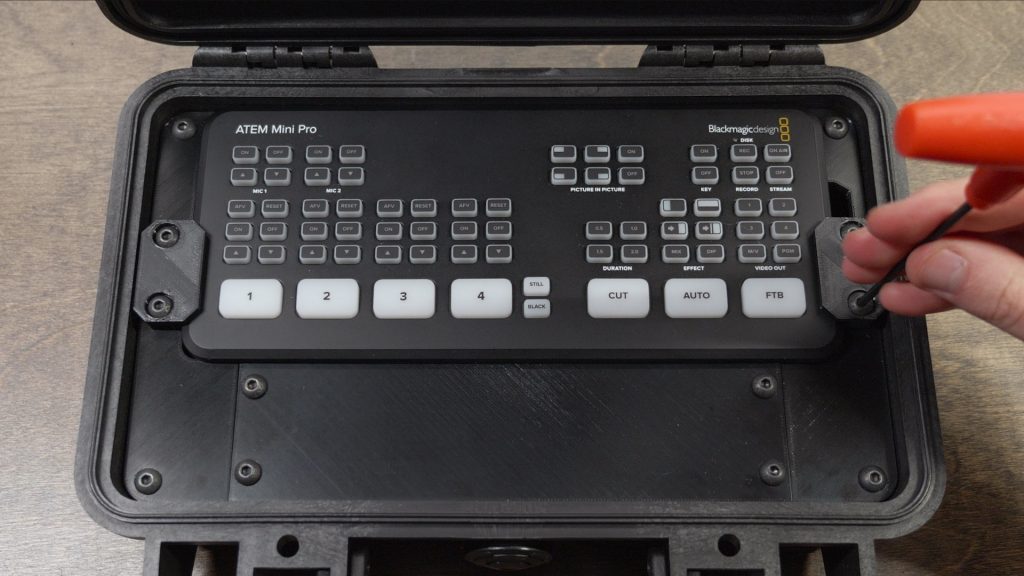
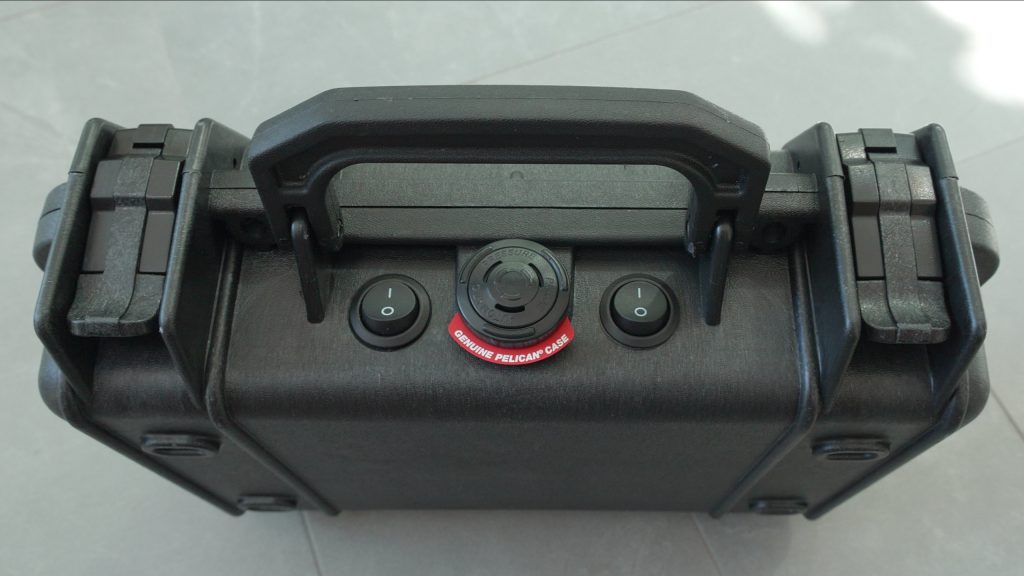
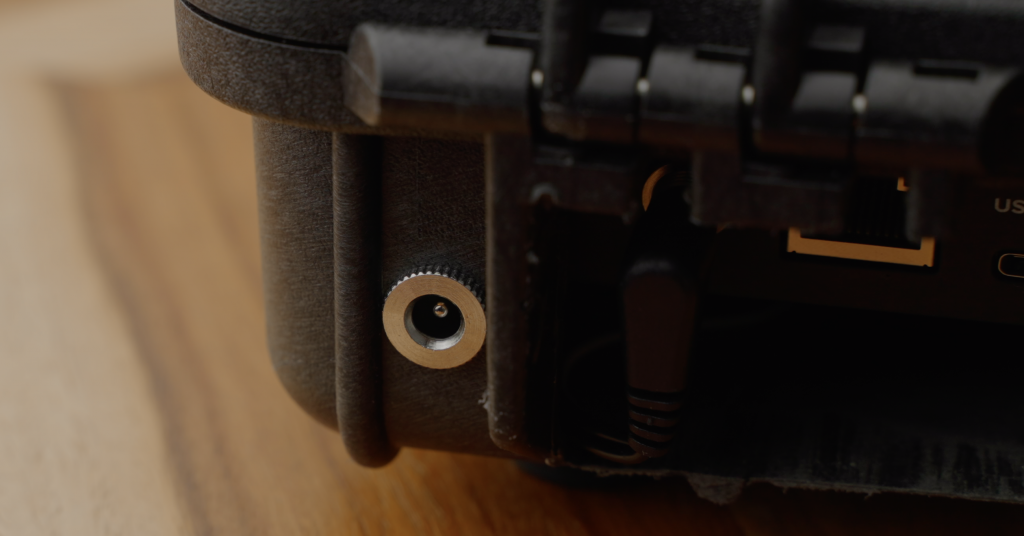
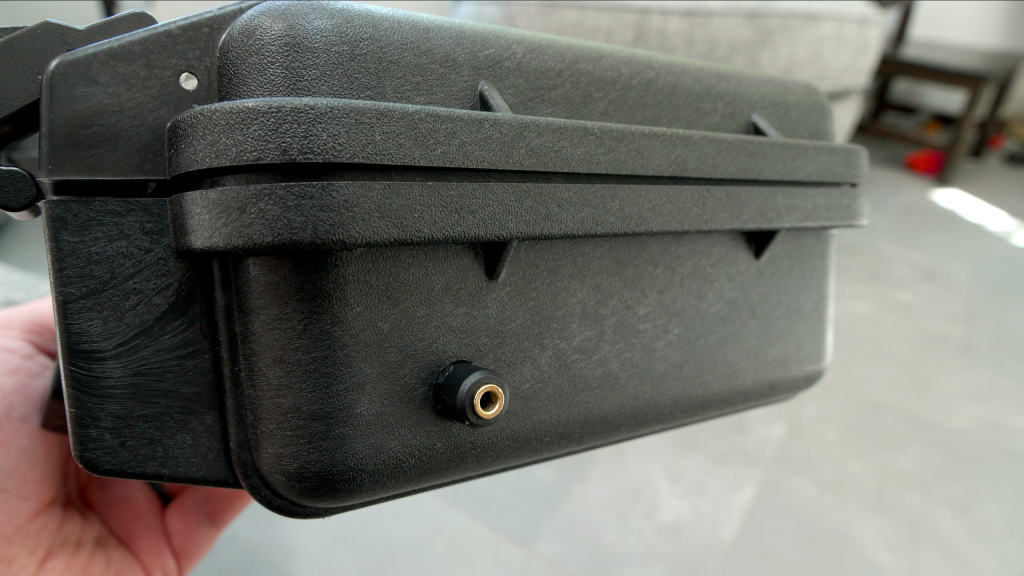
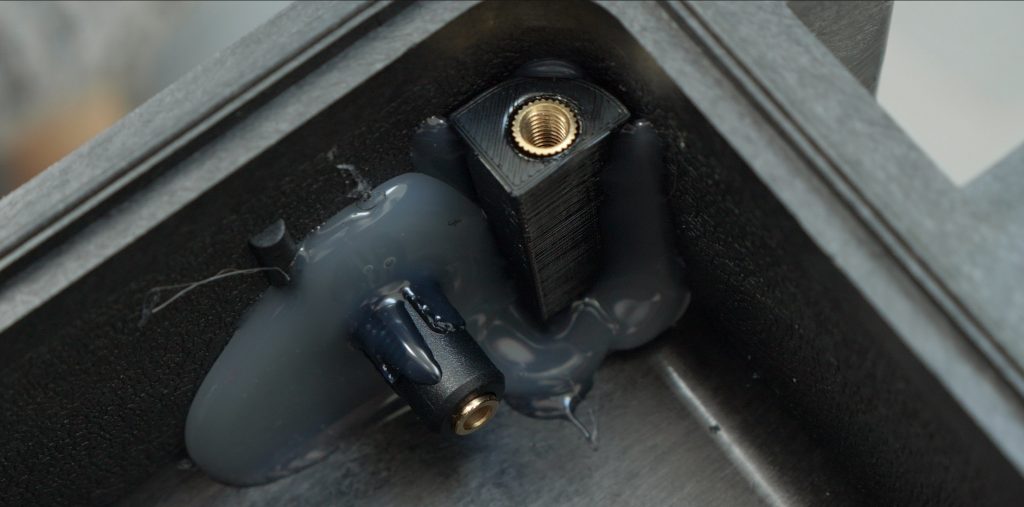
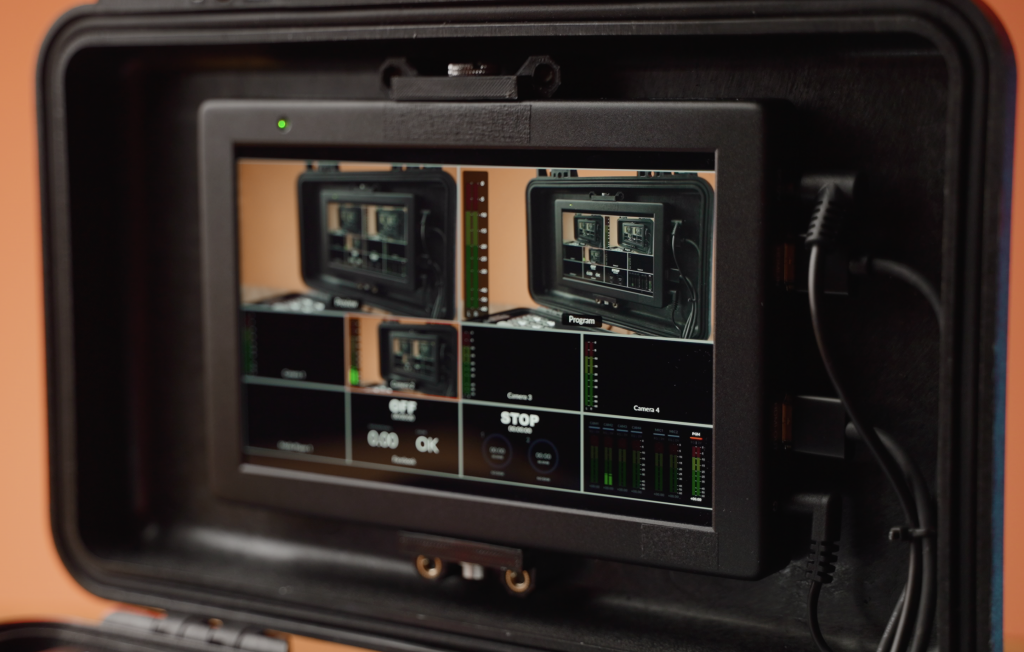
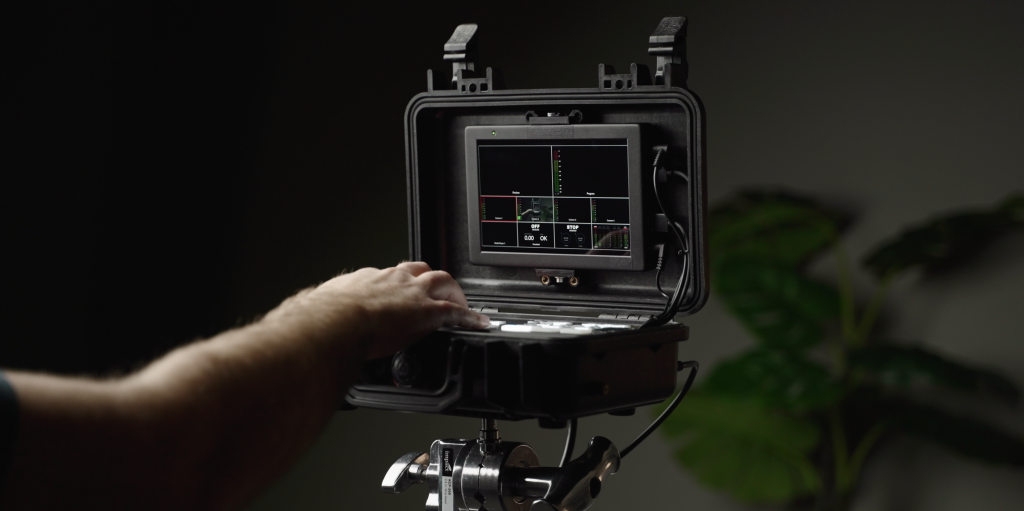
This is the Atem Mini Jacket. It is a custom case I built for the Atem Mini and I just had to share it with you guys! Watch the video below and read the build guide to learn more.
UPDATE: I may or may not be selling an updated versions of this case soon… Sign up for email updates here.
 Table of Contents
-
Parts Needed
-
Tools Needed
-
3D Prints or Cutouts
-
Preparing Case Parts
-
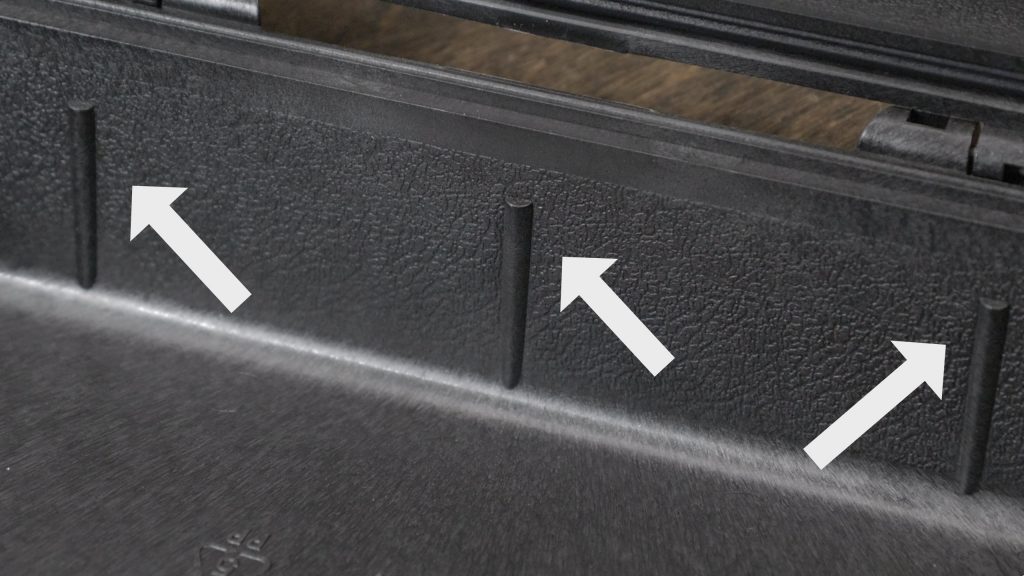
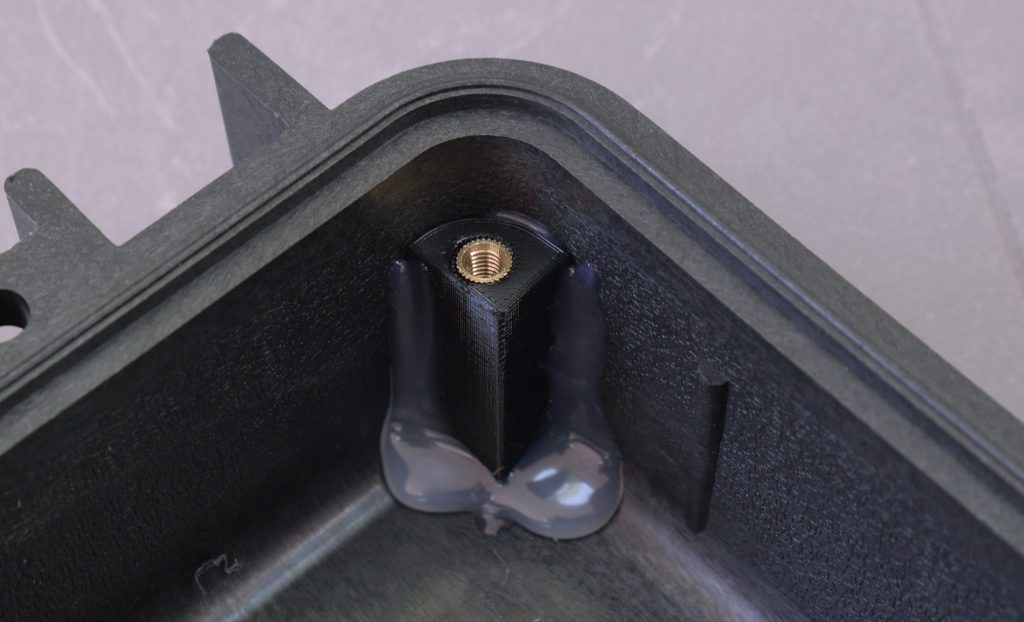
Installing Corner Supports
-
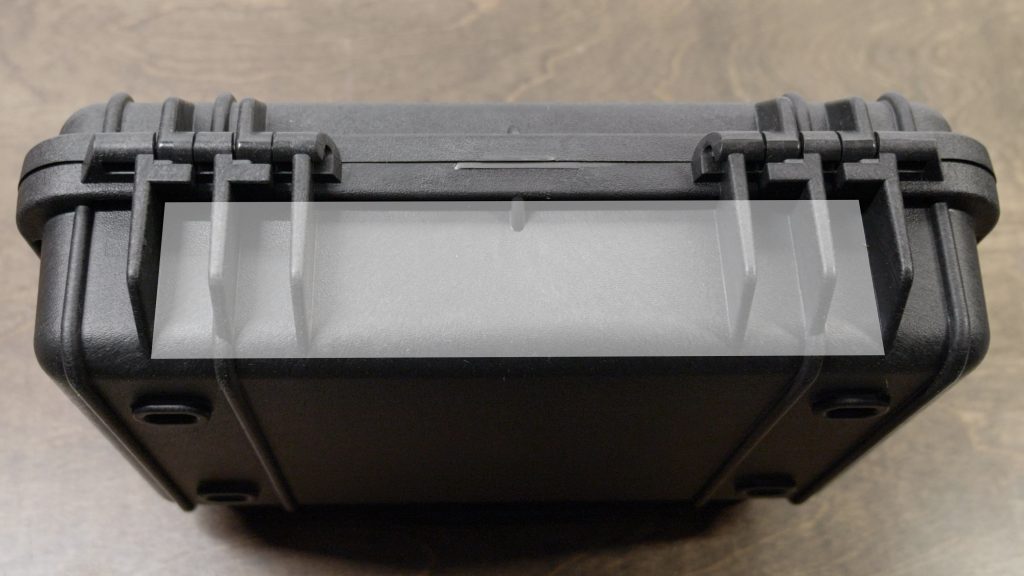
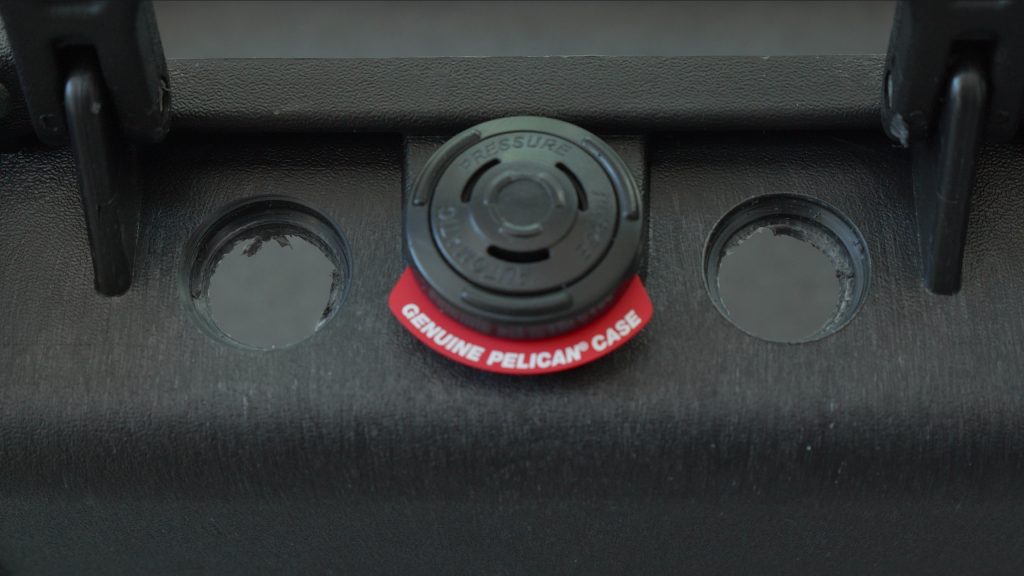
Case Cutouts and Holes
-
Power Wiring
-
Mounting Monitor
-
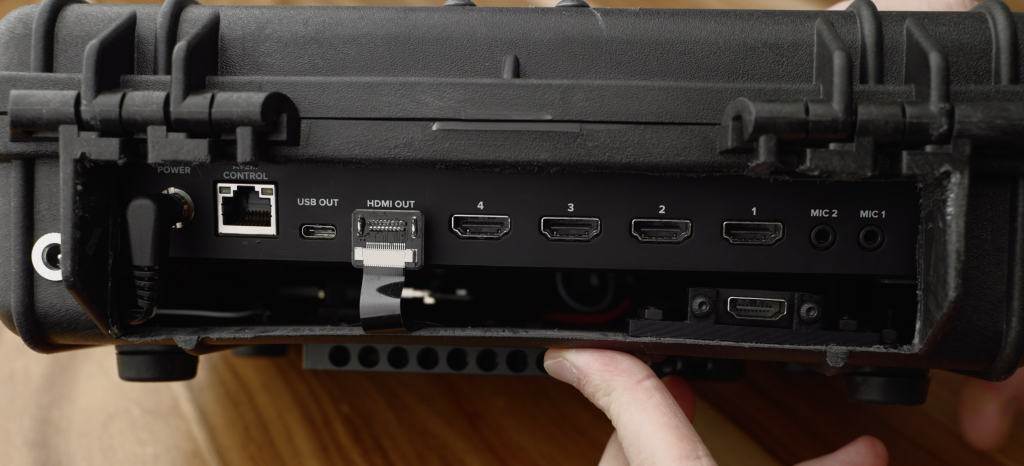
HDMI Wiring
-
Putting it all together
1. Parts Needed
Here is a full list of parts needed to build the Atem Mini Jacket.
- Atem Mini, Pro or ISO Switcher on Amazon (Paid Link) or B&H (Paid Link)
- Pelican 1170 Case on Amazon (Paid Link) or B&H (Paid Link)
- Custom 3D Printed Parts
- Feelworld T7 HDMI Monitor on Amazon (Paid Link) or B&H (Paid Link)
- 12v Power Supply on Amazon (Paid Link)
- DC Jack on Amazon (Paid Link)
- Round Switches on Amazon (Paid Link)
- Extra Wire on Amazon (Paid Link)
- HDMI Coupler on Amazon (Paid Link)
- HDMI Ribbon Cable on Amazon (Paid Link)
- Angled DC Cable on Amazon (Paid Link)
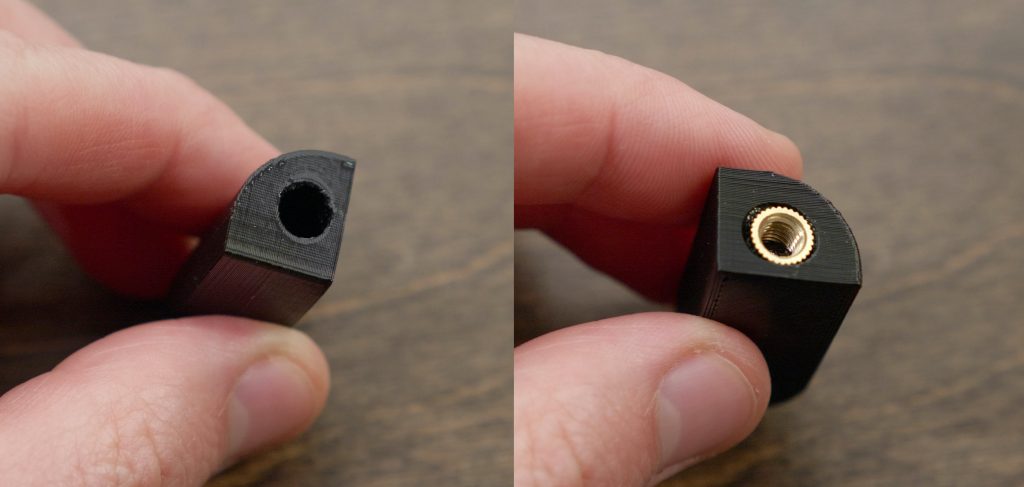
- Brass Insert Kit on Amazon (Paid Link)
- Metric Bolt Kit on Amazon (Paid Link)
- Tripod Screws on Amazon (Paid Link)
- 1FT HDMI Cable on Amazon (Paid Link)
- 1.5FT HDMI Cable on Amazon (Paid Link)
- 3.5mm Female to Female Adapter on Amazon (Paid Link)
- Optional Cheese Plate on Amazon (Paid Link)
2. Tools Needed
Here is a list of recommended tools. Keep in mind these are for building the case with 3D printed parts. If you will be cutting out the frame using wood or other materials you will need a way to make cuts.
- Soldering Iron
- Solder
- Glue Gun
- Saw – I used this one from Amazon (Paid Link)
- Allan Keys/Screw drivers
- Drill
- Stepper Drill Bits – I used this set on Amazon (Paid Link)
- Standard Drill bits
- Cable Ties
3. 3D Prints and Cutouts
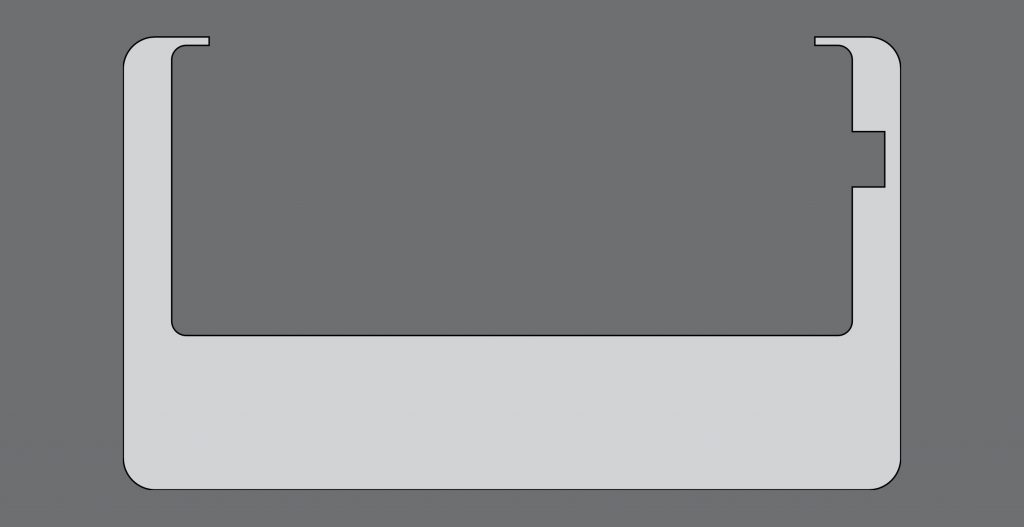
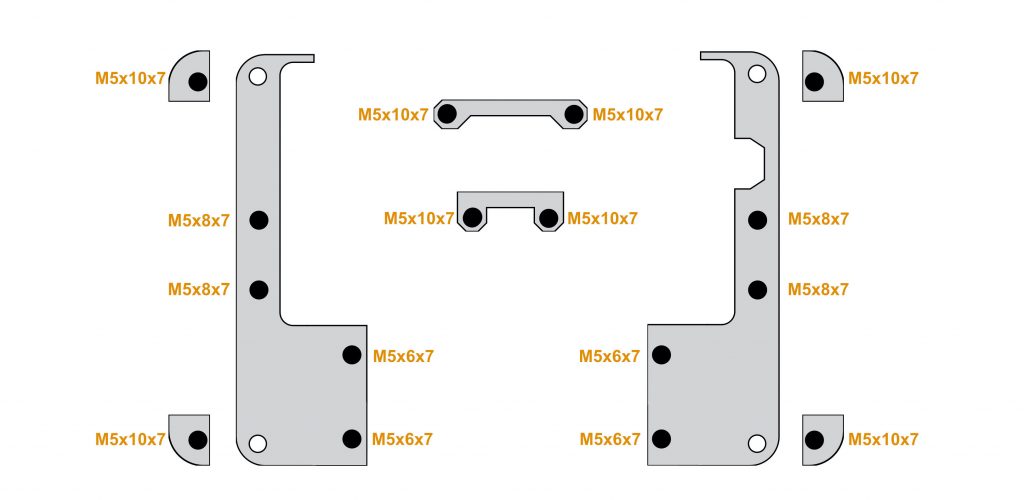
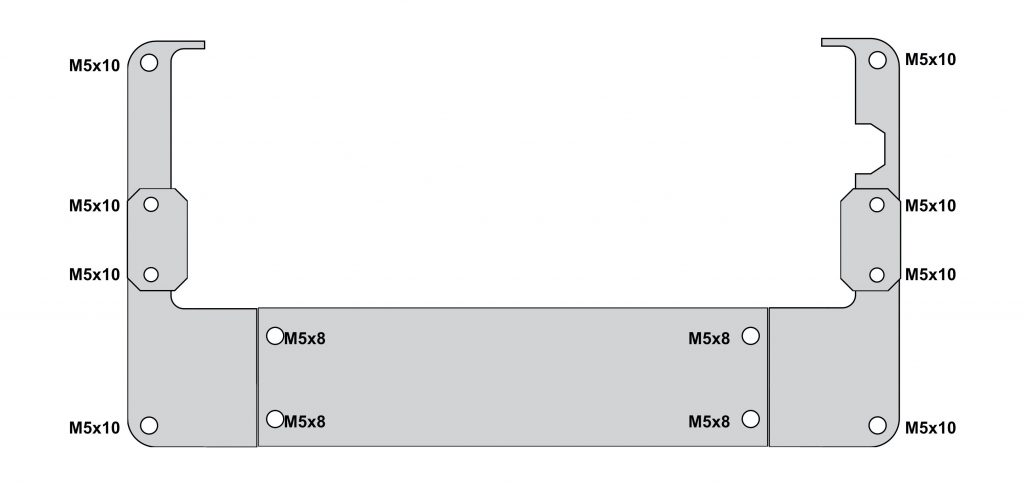
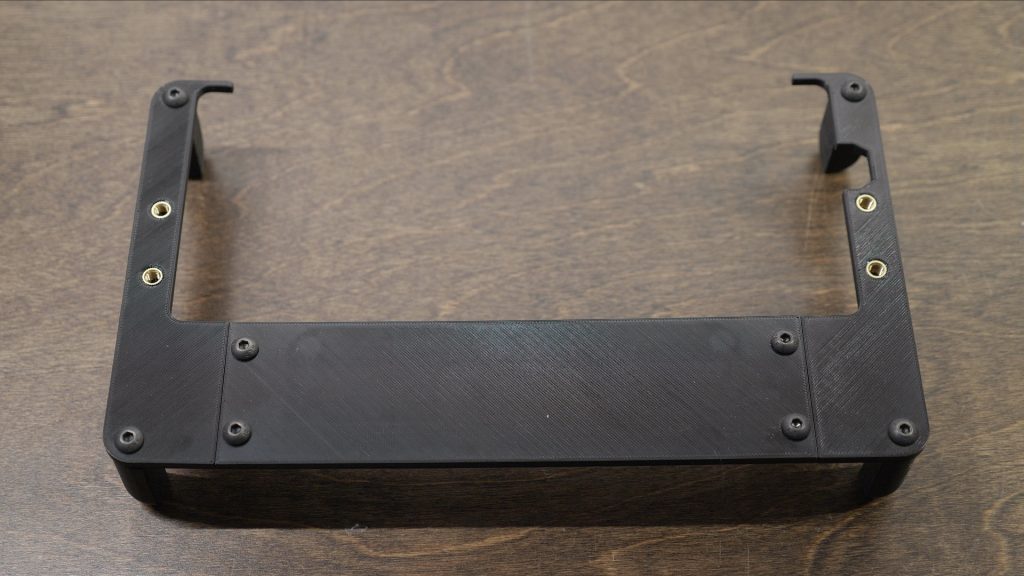
To mount the Atem Mini inside of the case we need a frame that will hold it in place. This frame can be made by hand or by using some 3d printed parts.
4. Preparing Case Parts
-
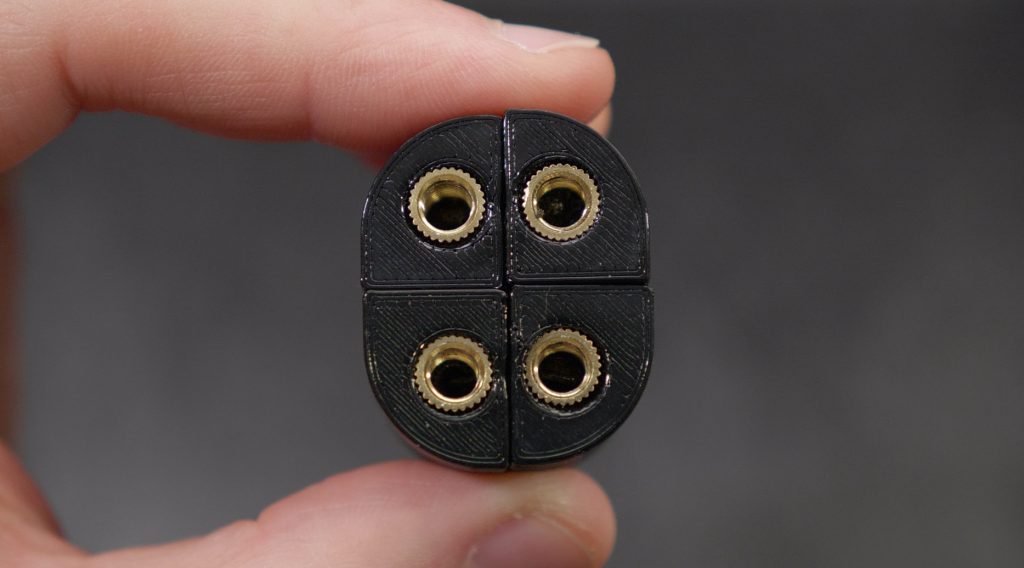
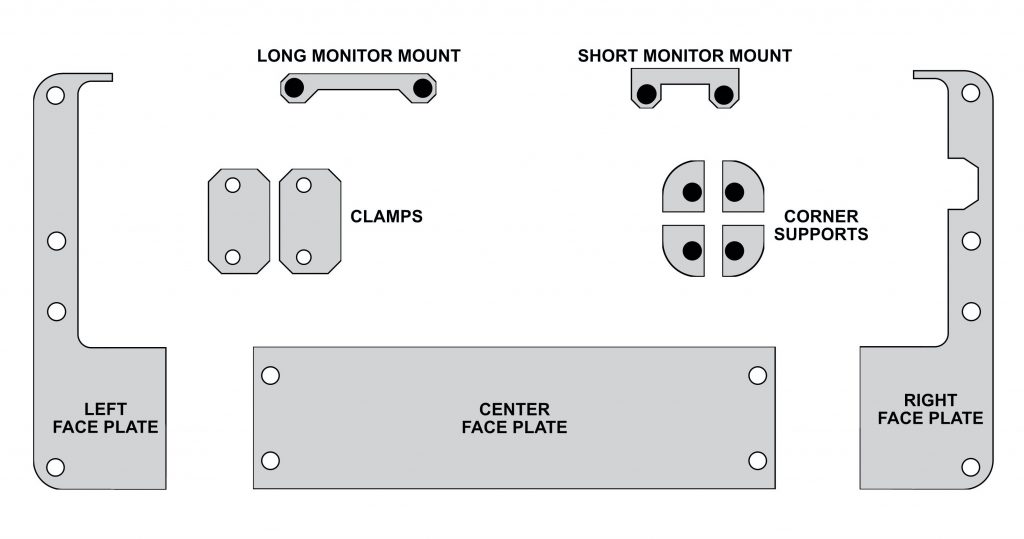
4 Corner Supports
-
1 Left and 1 Right Face Plate
-
1 Center Face Plate
-
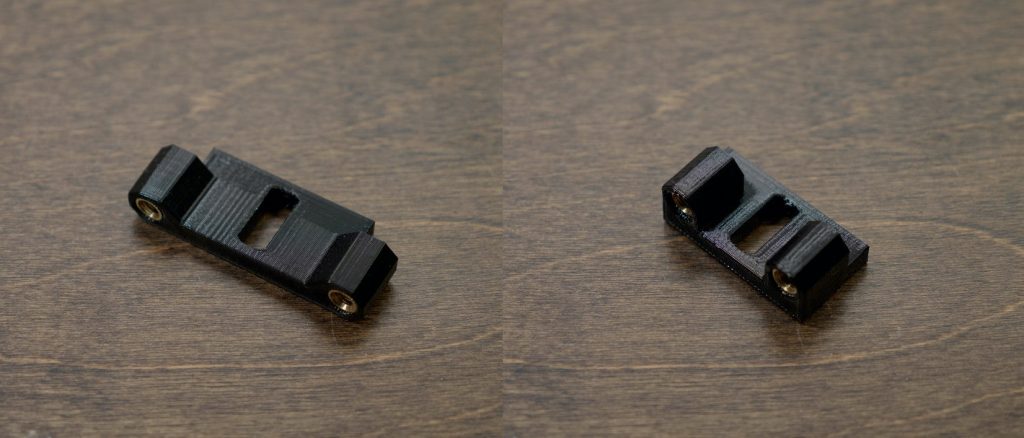
2 Clamps
-
1 Long monitor mount
-
1 Short monitor mount
-
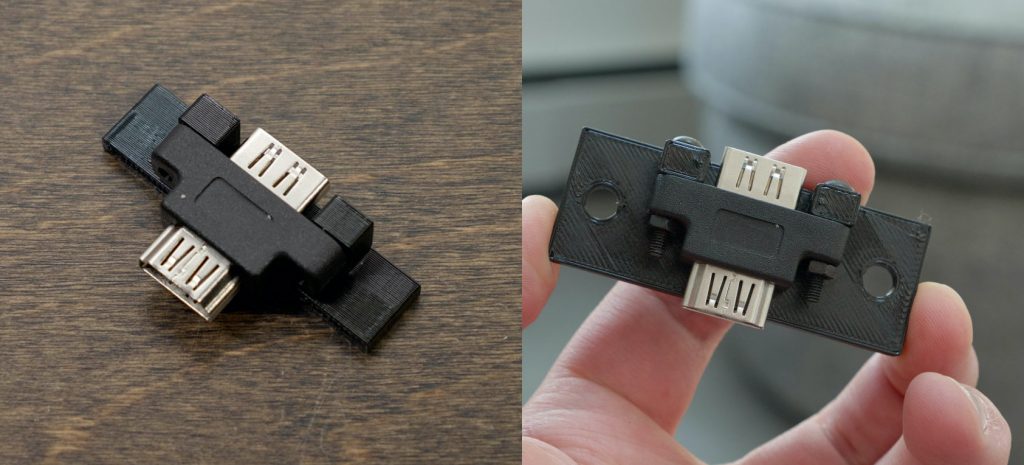
HDMI Coupler Mount
-
HDMI Coupler Mount with Holes
5. Installing Corner Supports
6. Case Cutouts and Holes
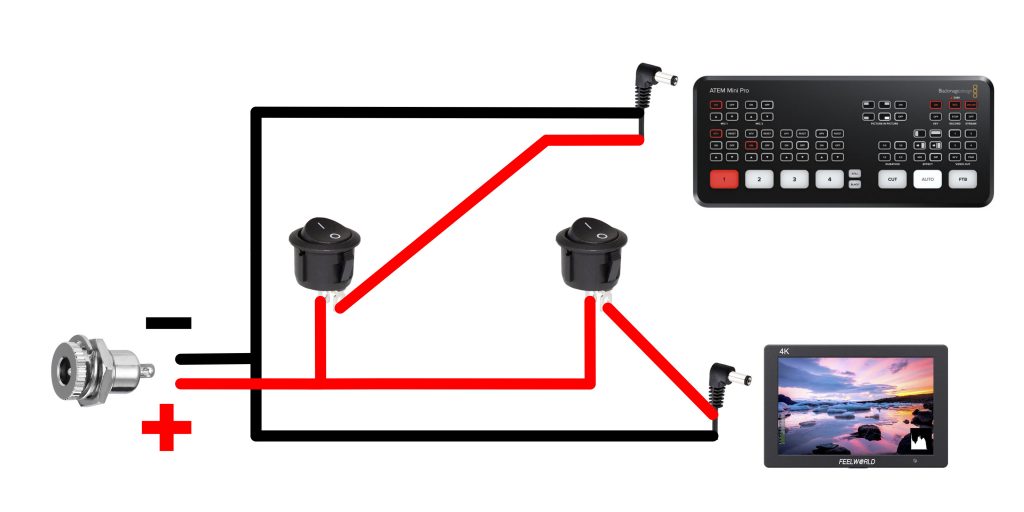
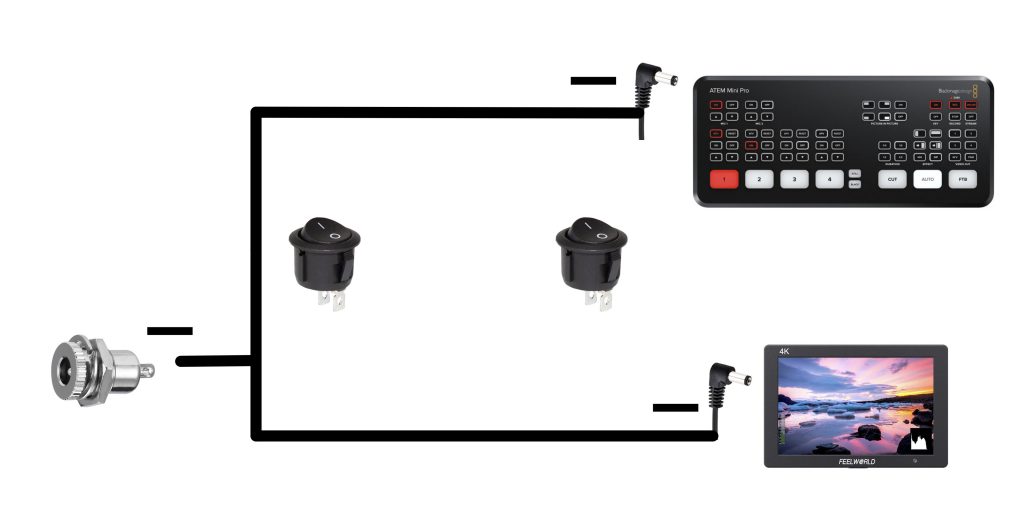
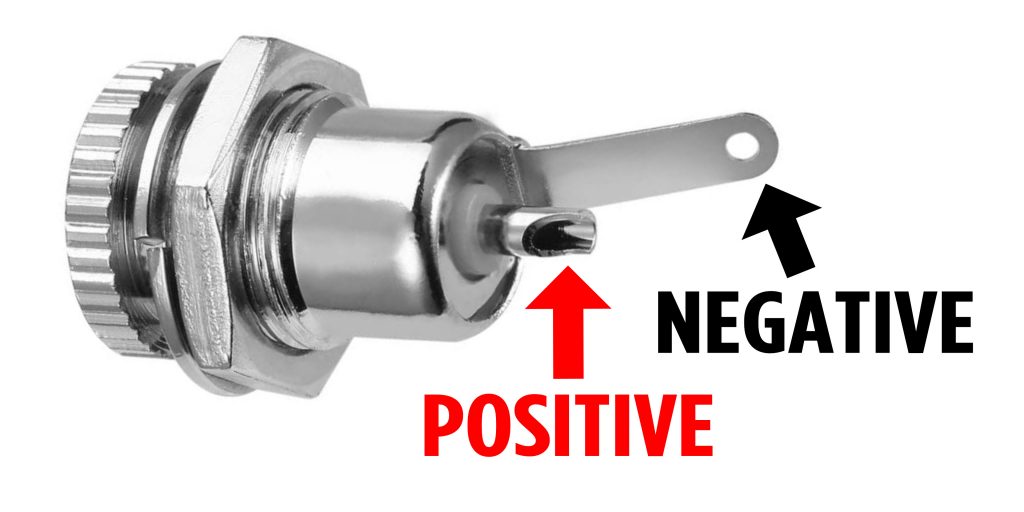
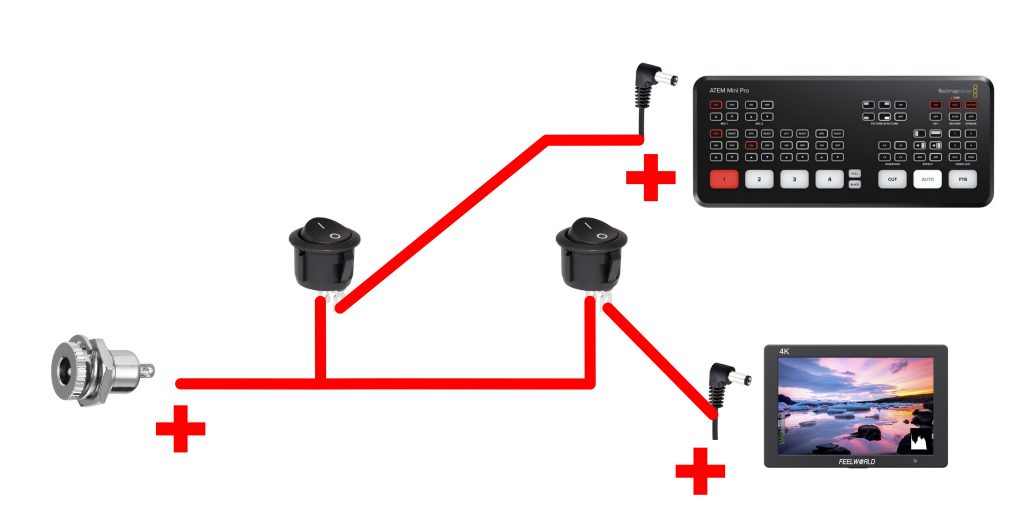
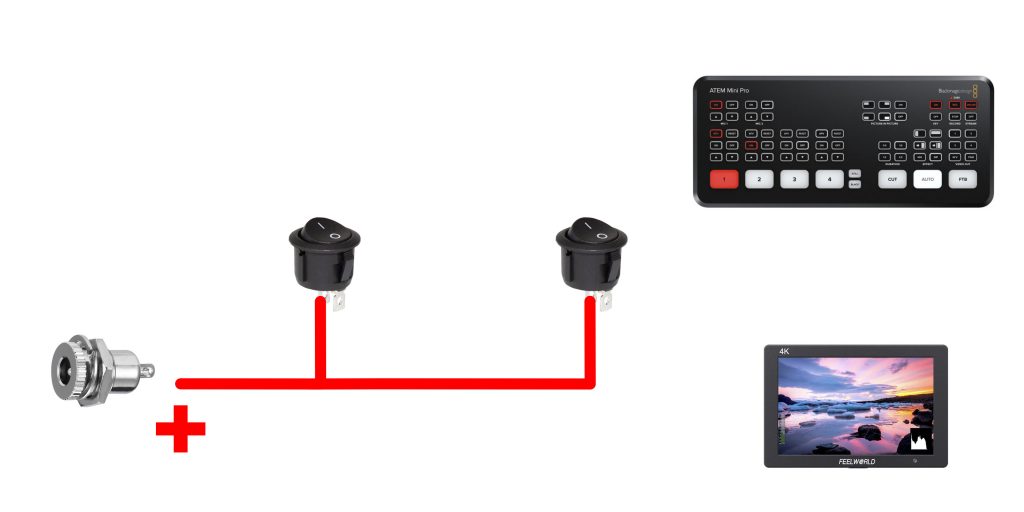
7. Power Wiring
8. Mounting the Monitor
9. HDMI Wiring
10. Putting it all together
At this point you can put everything together for the last time:
- Bolt the monitor to the lid of the case
- Connect a 3.5mm male to male cable to the headphone jack on the monitor and to the headphone out on the side of the case
- Do some cable management if needed. Cable ties and tape are your friends!
- Bolt the left and right face plates to the corner supports and use 2 washers in-between the face plates and supports.
- Bolt the center face plate between your left and right plates.
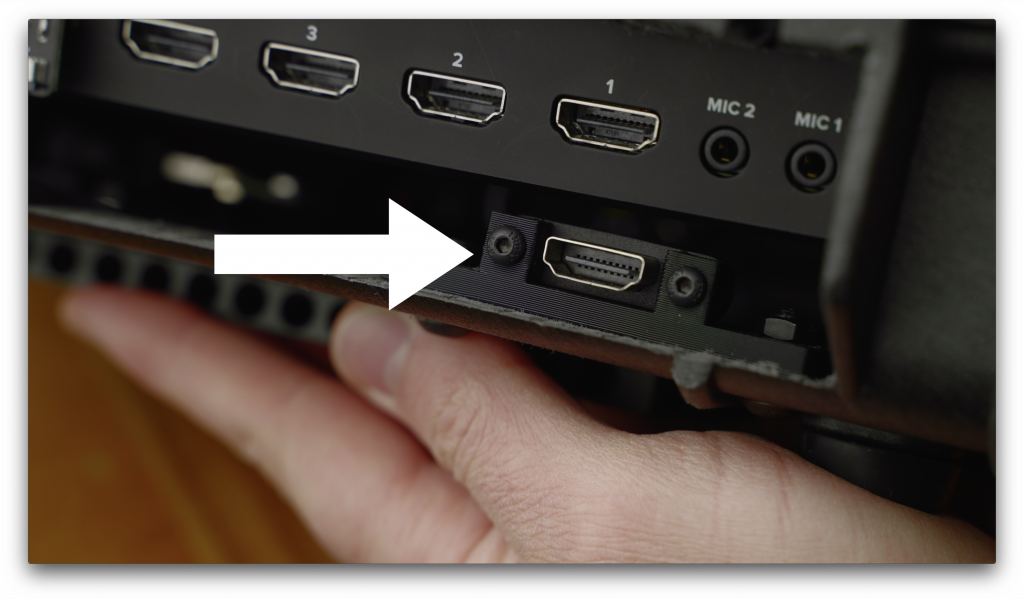
- Run your Atem HDMI and power through the rear of the case
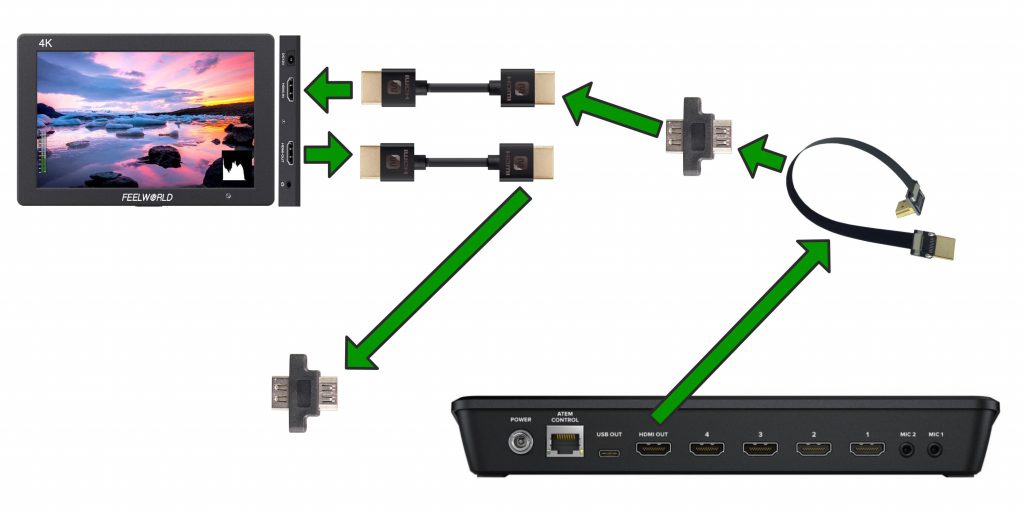
- Run your monitor HDMI cables and power through the little cut out in the right face plate and connect to the monitor.
- Place your Atem Mini in the case and make sure it is centered
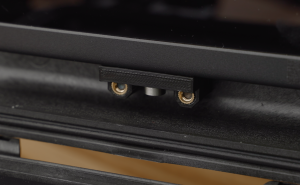
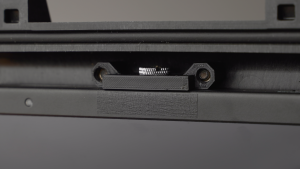
- Bolt the two clamps down onto the Atem to hold it in place but DO NOT over tighten!
- Connect the HDMI out and power to the Atem mini
- Connect power to the rear of the case
- Turn it on and you’re done!
If you ever need to remove the Atem it is as simple as disconnecting the cables on the back and removing the two clamps.
Conclusion
I hope you’ve enjoyed this project and if you have any feedback please let me know! I’m no designer/engineer so if you want to improve this project, please feel free to do so. I would love to see what more talented people come up with.
