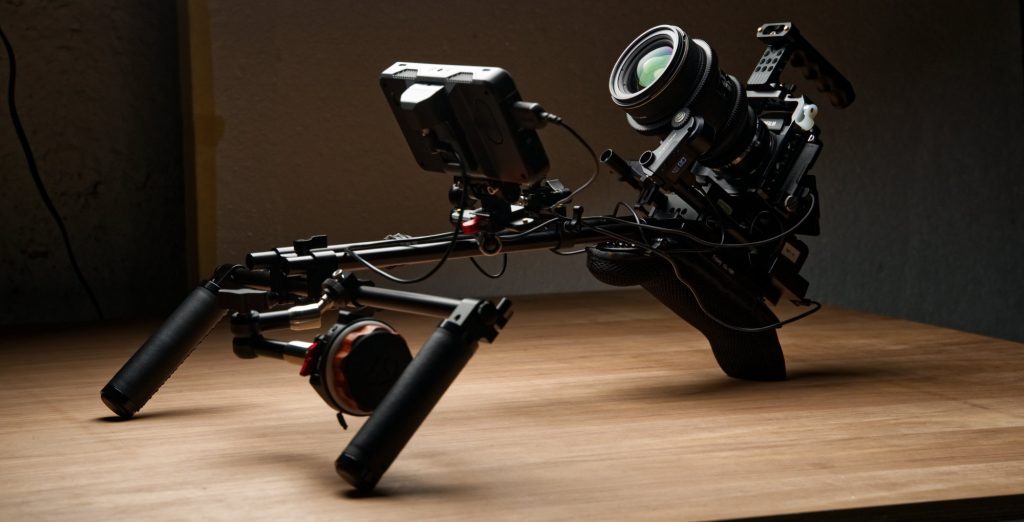
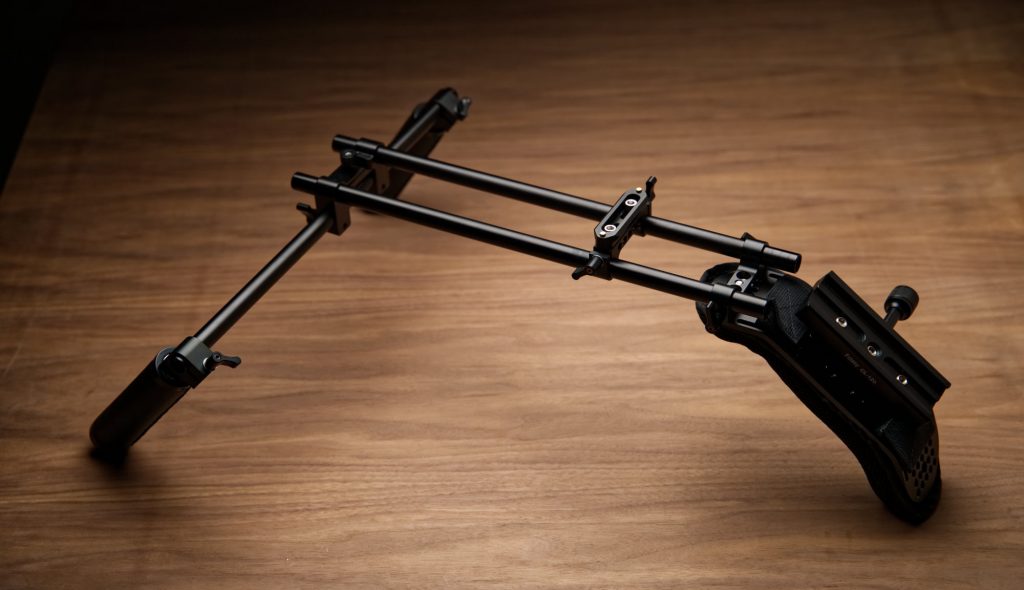
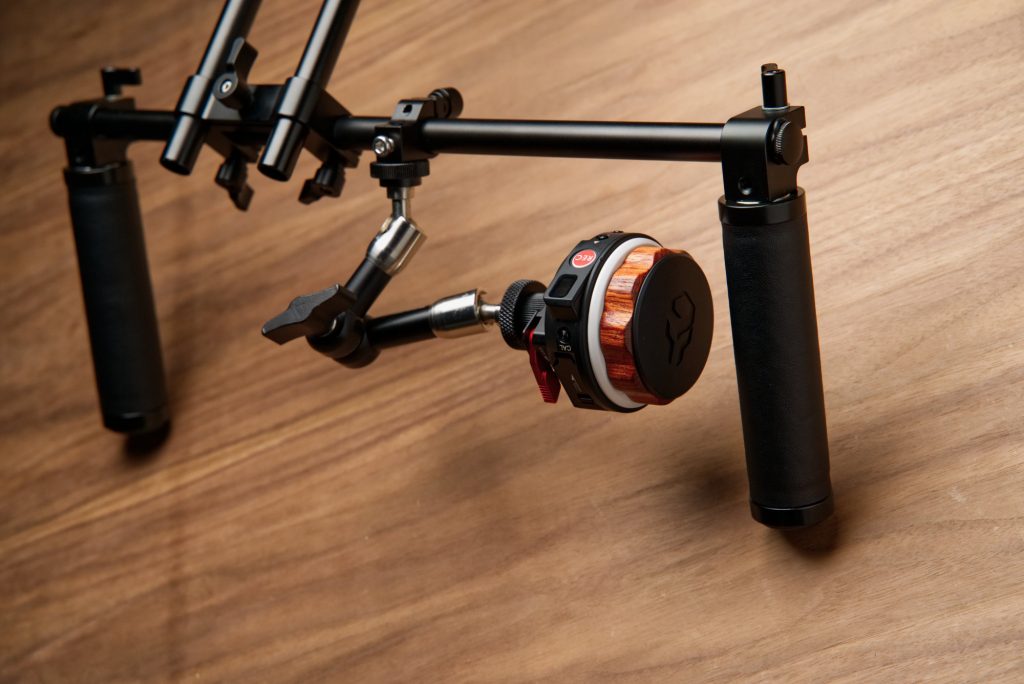
Today we build the ultimate custom shoulder rig for under $500! Check the parts list and build guide below for more information.
Today I continue my hunt for the perfect rig for cinematic camera movement. In a recent article I showed you how I built a modular handheld rig for run and gun work. In this post, we are going to put together a matching shoulder rig to give us further flexibility.
My goals for this shoulder rig were pretty simple:
- Stay under $500
- Seamlessly integrate with the Core Rig
- Be comfortable enough for long shoots
- Have focusing done at the handles
The final shoulder rig ended up costing me $473 to make. The “Core Rig” fully built with all the bells and whistles totaled up to $529 excluding a camera and monitor. So for just over $1,000 you could build a shoulder rig that can quickly be broken down to a small handheld setup.
With all that out of the way, lets get to our parts list and start putting this shoulder rig together!
Parts List
Below you will find all the parts needed to build this shoulder rig. Before we move forward I want to get the following disclaimer in:
We are a participant in the Amazon Services LLC Associates Program, an affiliate advertising program designed to provide a means for us to earn fees by linking to Amazon.com and affiliated sites. Many of the links below are affiliated and will be denoted as “on Amazon” next to the link.
Finally, no gear was supplied to me for this video/article and no one has paid to have this content made. All gear was purchase by myself to build this rig.
Lets get to the parts!
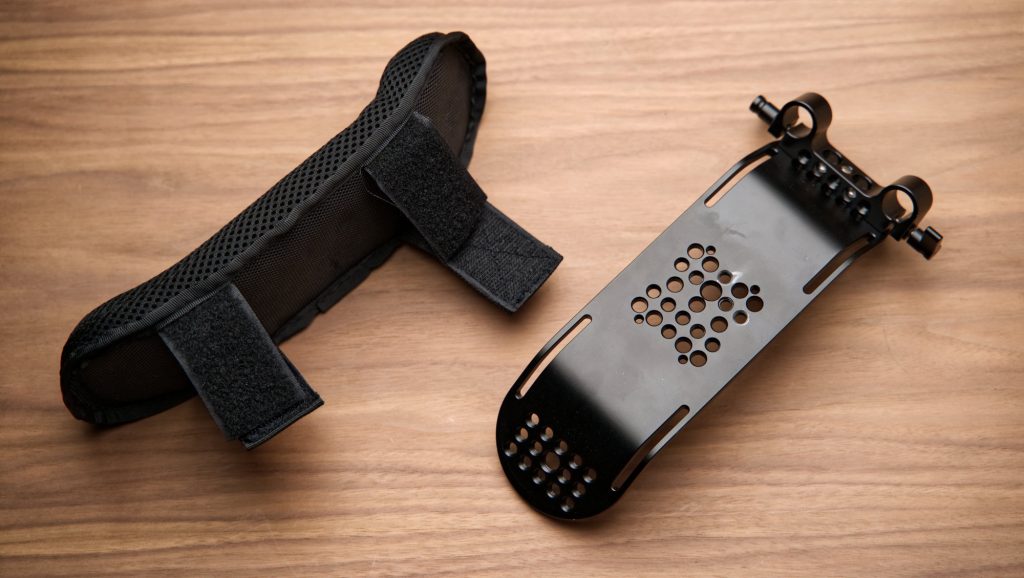
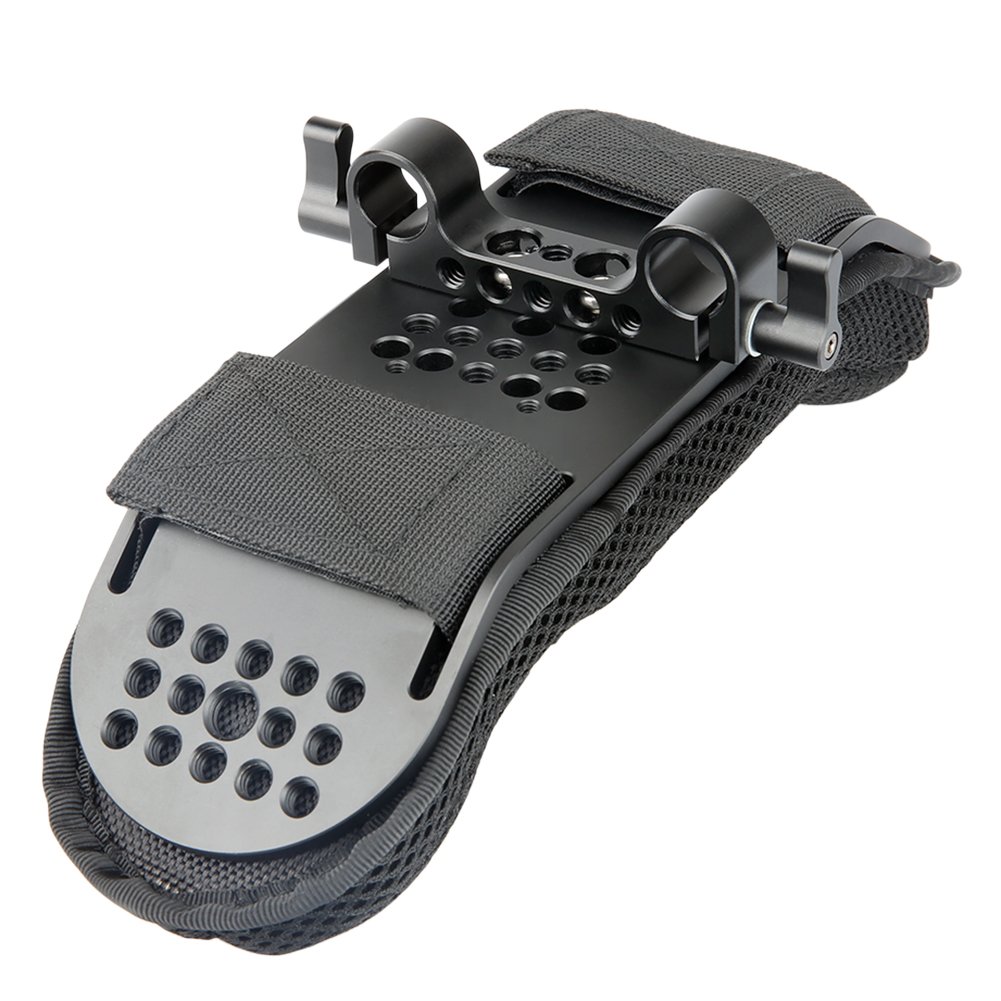
Shoulder Pad
This entire shoulder rig will be build off of this killer little shoulder pad. You can pick one up for under $40 here on Amazon. It comes with a dual 15mm rod clamp which we will be using later.
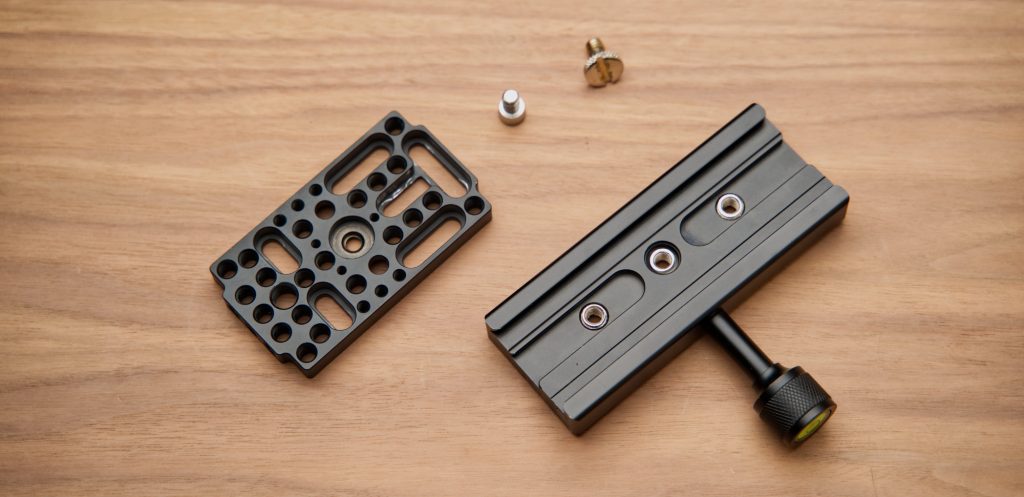
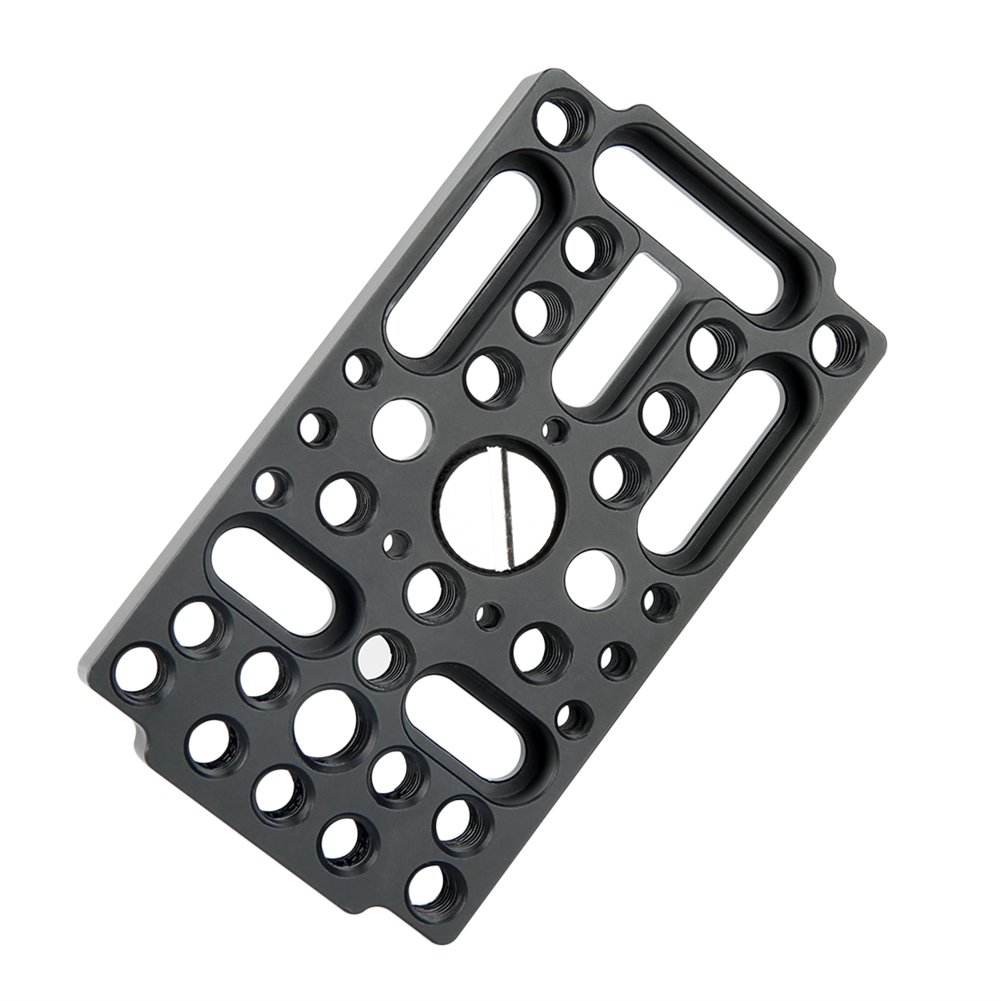
NiceyRig Cheese Plate
This cheese plate on Amazon will be a part of the final shoulder pad configuration.
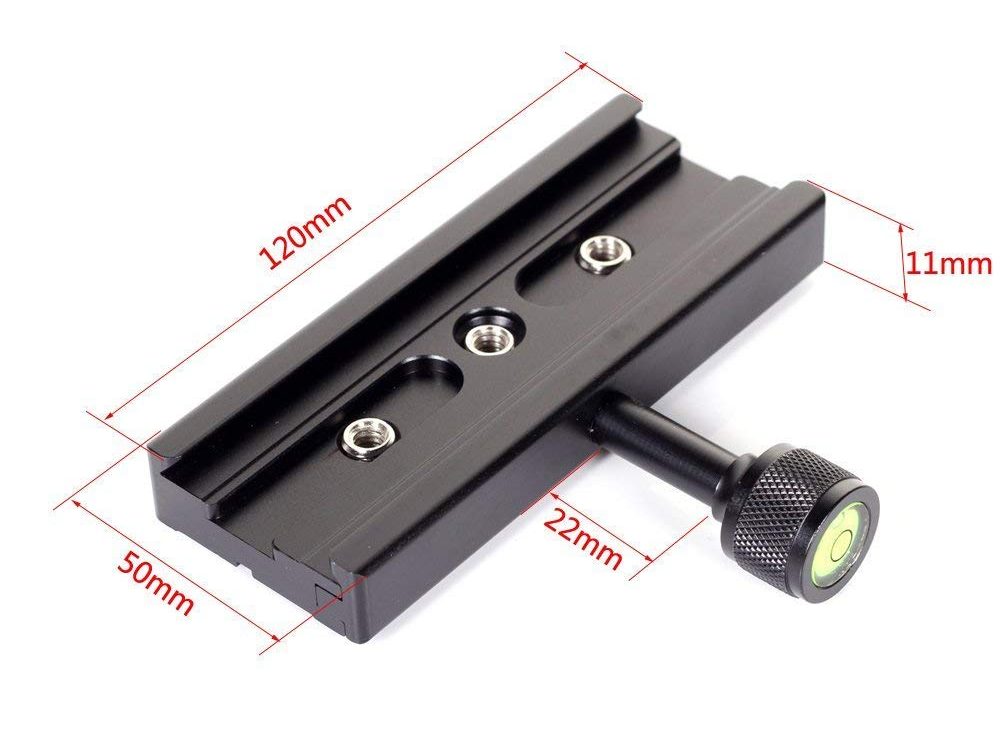
Arca Swiss Quick Release Clamp
This long quick release clamp on Amazon will allow us to mount the camera to the entire shoulder rig. You can use any quick release system you’d like, but I’m going with Arca Swiss to match my other tripods and rigs. This particular plate allows for multiple bolts giving us a very strong connection.
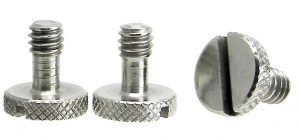
Tripod Bolts
We will need a few of these tripod bolts on Amazon to attach our quick release setup to the shoulder pad.
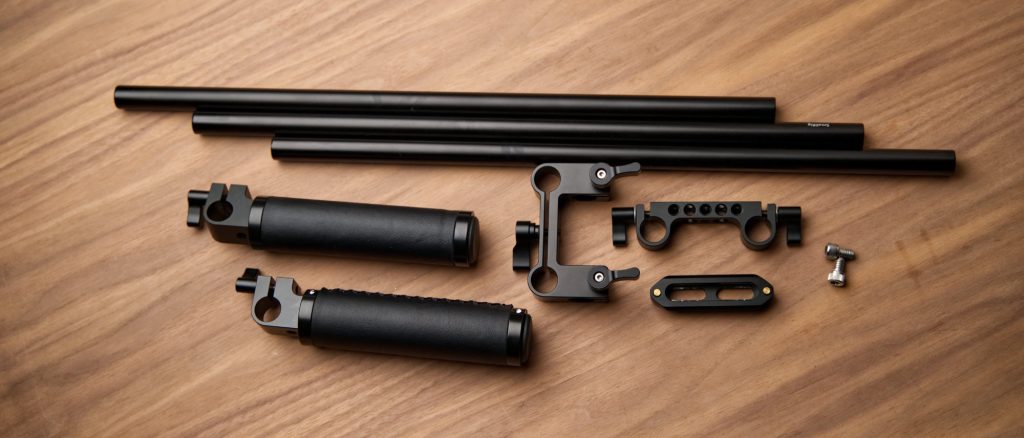
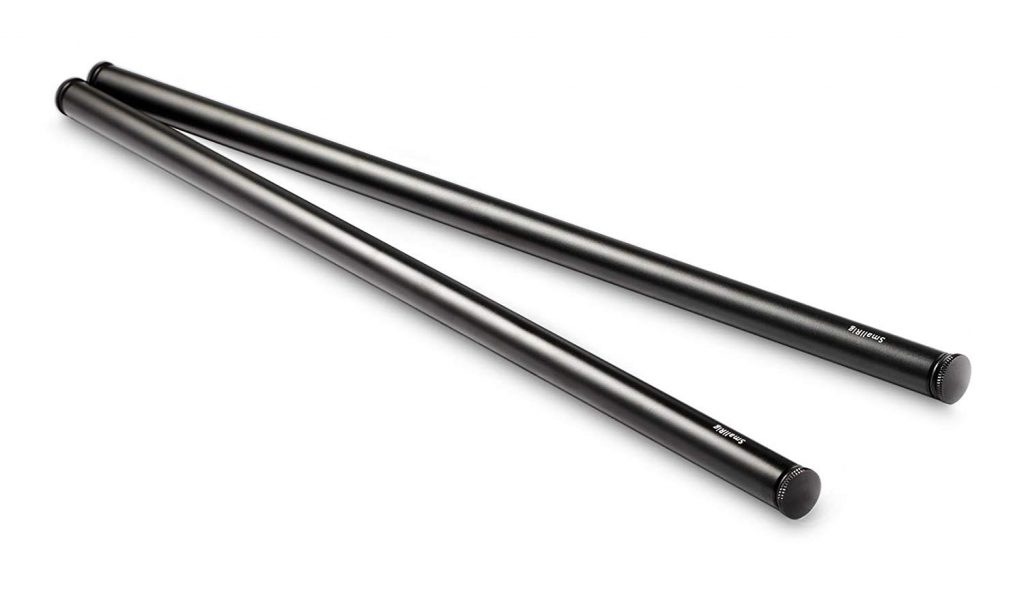
16 Inch 15mm Rods
We are going to need a total of 3 15mm rods that are 16 inches long. I bought two of these packs here on Amazon. These also come with 15mm end stop screws which is a nice touch. These rods will make up the distance between our shoulder pad and the handles. I like to keep my hands as low as possible to keep things comfortable, but you can choose whatever rod length works best for your setup. Just keep in mind these handles will be angled at 45 degrees due to the way the shoulder pad is designed.
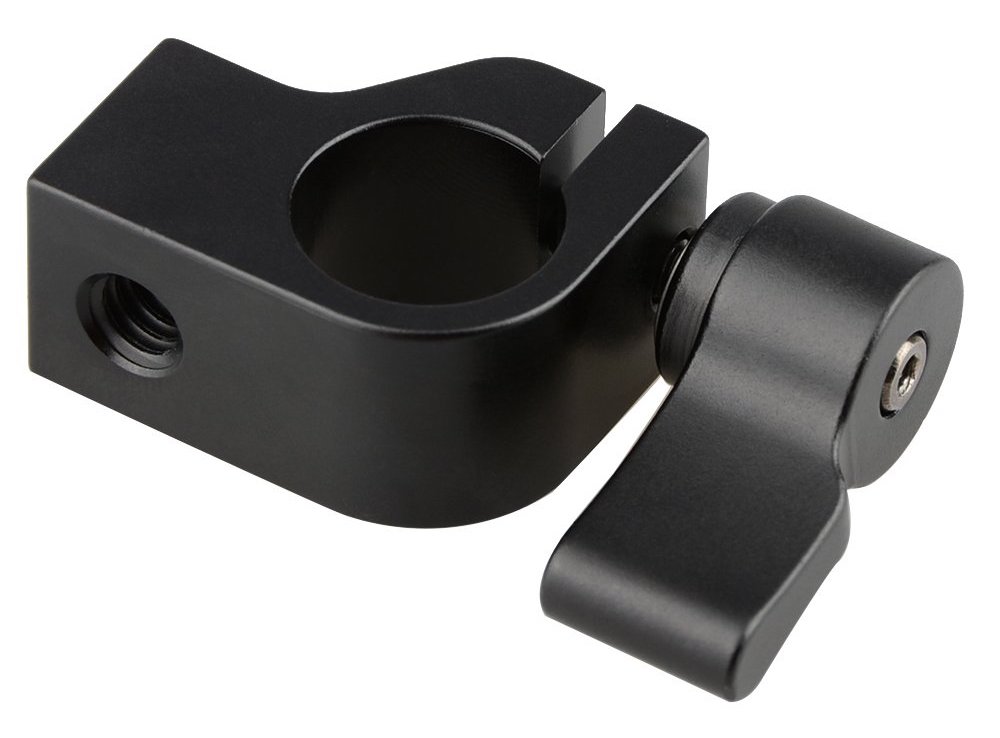
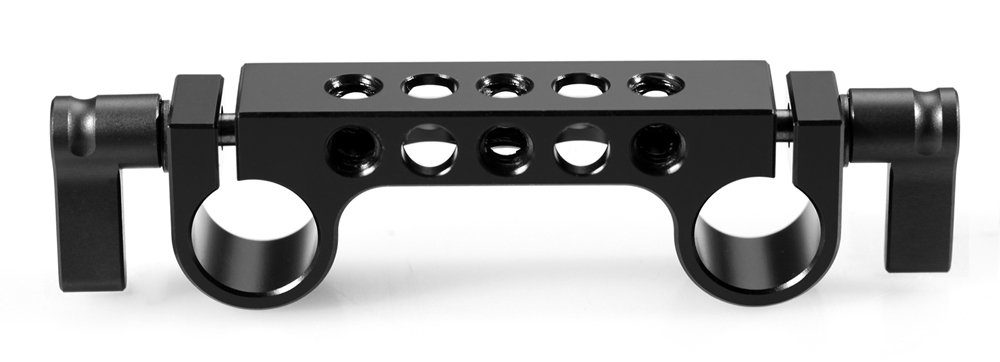
15mm Rod Clamp
We will need one of these rod clamps on Amazon to mount our monitor down the road.
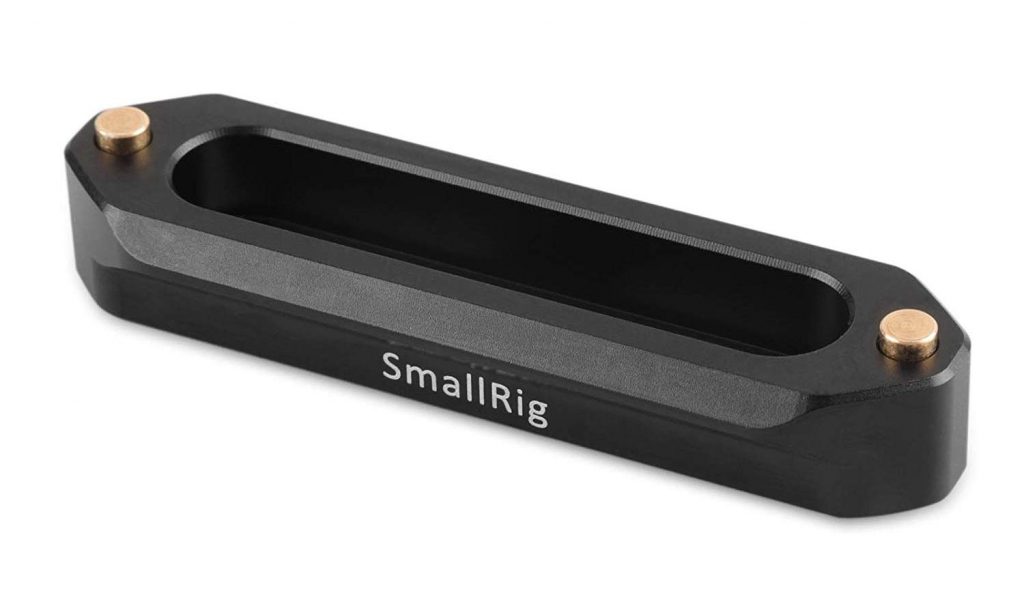
Nato Rail
We will be using this Nato Rail from Amazon to quickly mount a monitor to this entire setup. You can get it in any size, but I would recommend the 7cm version.
15mm Rod 90 Degree Offset
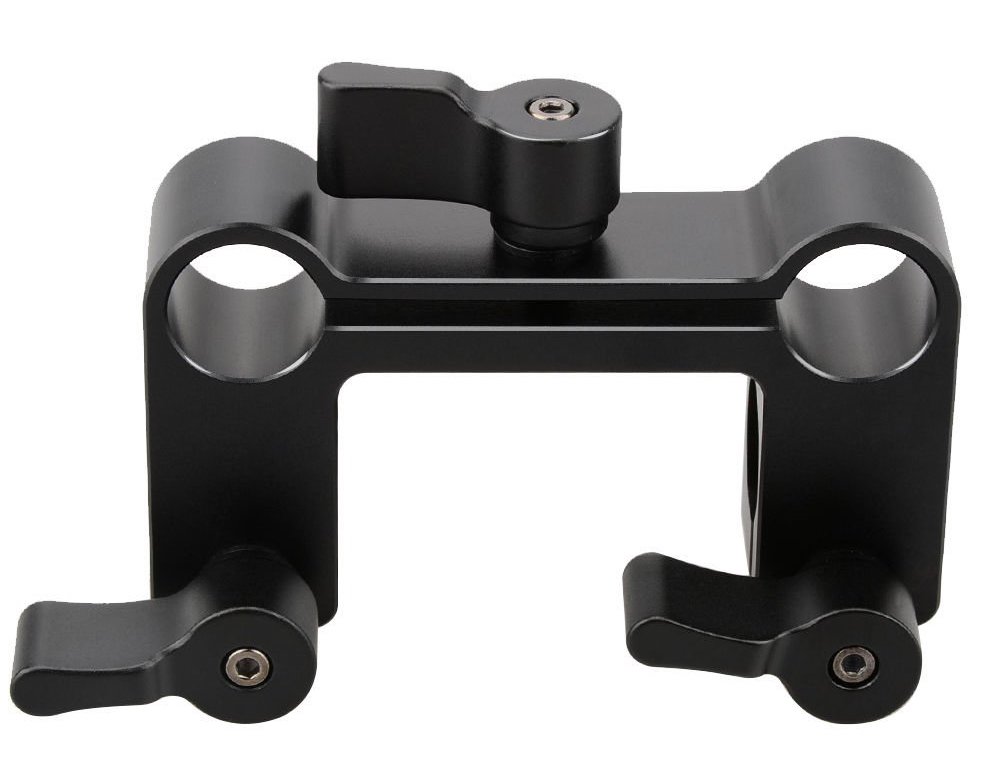
This 90 degree adapter on Amazon will be used to mount our handles in a more comfortable way.
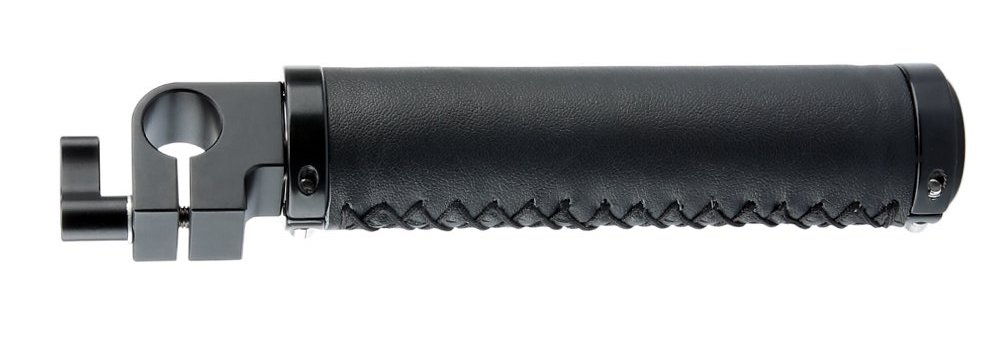
15mm Handles
Next we need a set of handles. I’m using two of these 15mm leather handles on Amazon but there are tons of other options out there. For example, you may prefer rubber handles to leather or a cheese style handle.
15mm Clamp
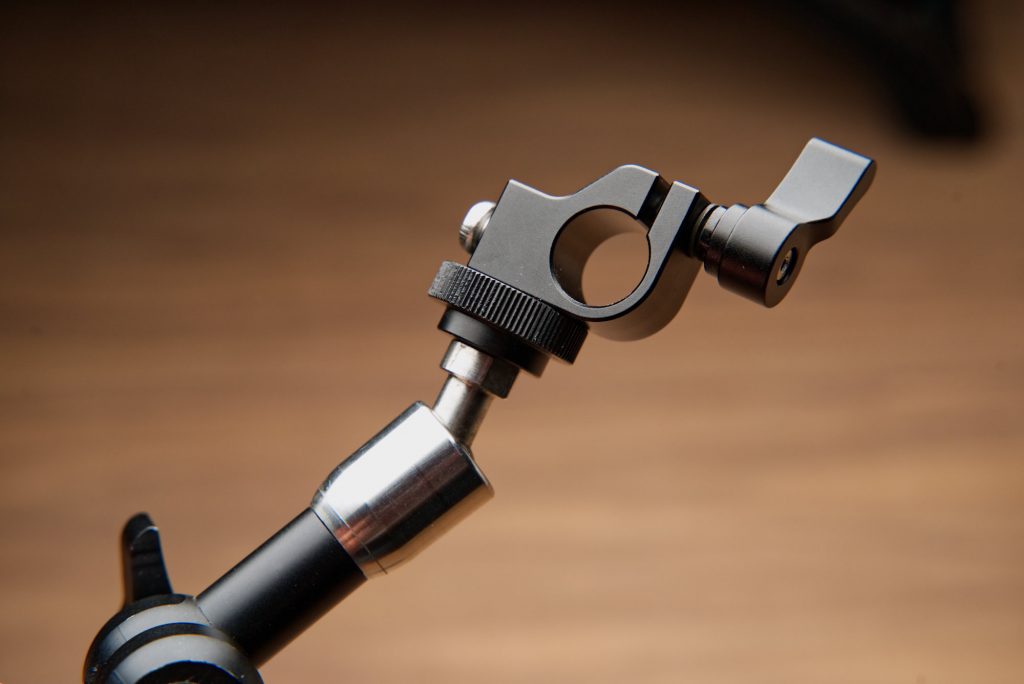
This small 15mm to 1/4 clamp on Amazon will be needed to mount our wireless follow focus.
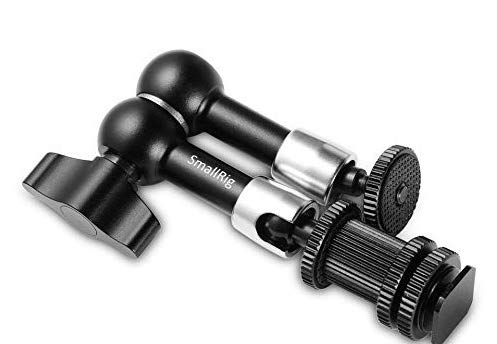
7 Inch Monitor Arm
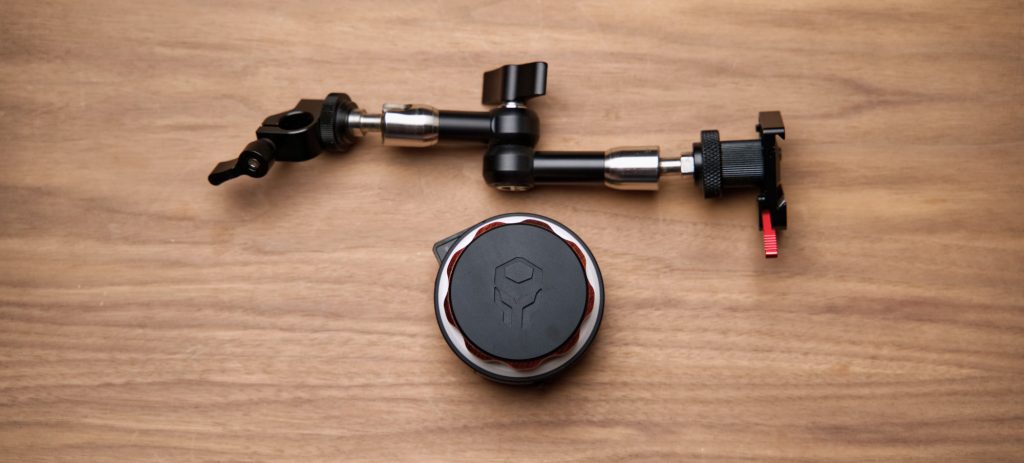
This friction arm on Amazon will be used with our follow focus to give us more flexibility when positioning our handles.
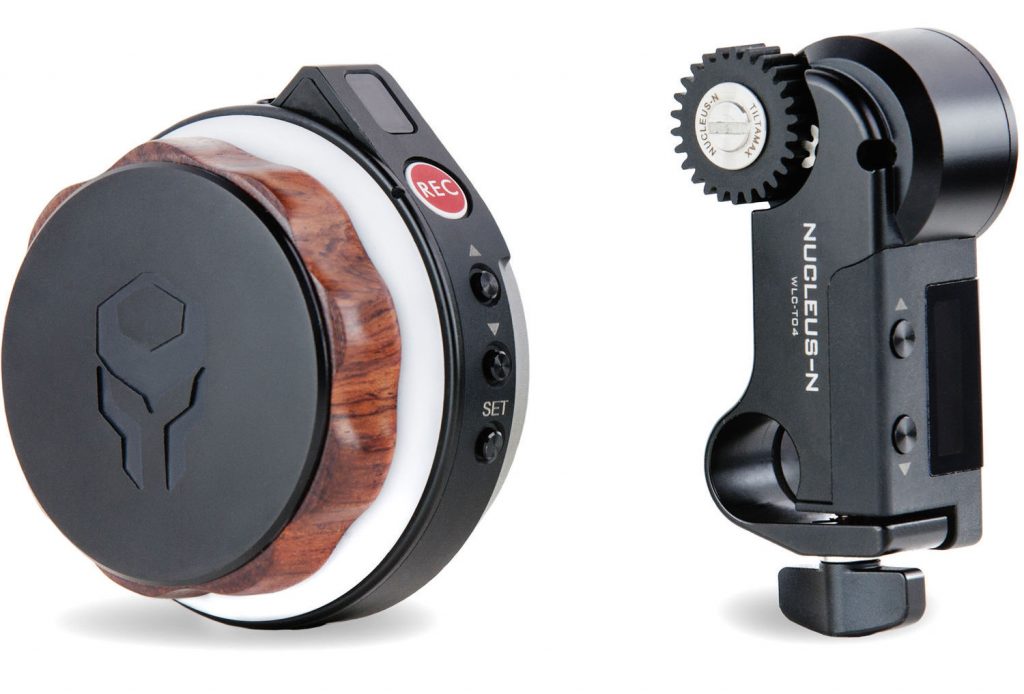
Tilta Nucleus-Nano Wireless Follow Focus
The Nucleus Nano is a wildly good little follow focus system. You can find it on B&H Photo Video for around $230 and it will really complete this rig.
Extra Screws
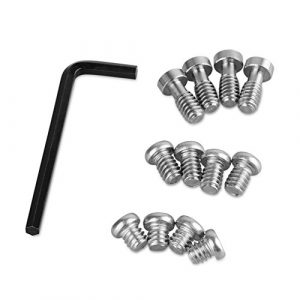
Finally, we’ll need a few extra screws to mount everything together. I’d recommend this handy pack from SmallRig on Amazon.
Time to Build
Now we can get down to business and build this thing!
Step 1: The Shoulder Pad
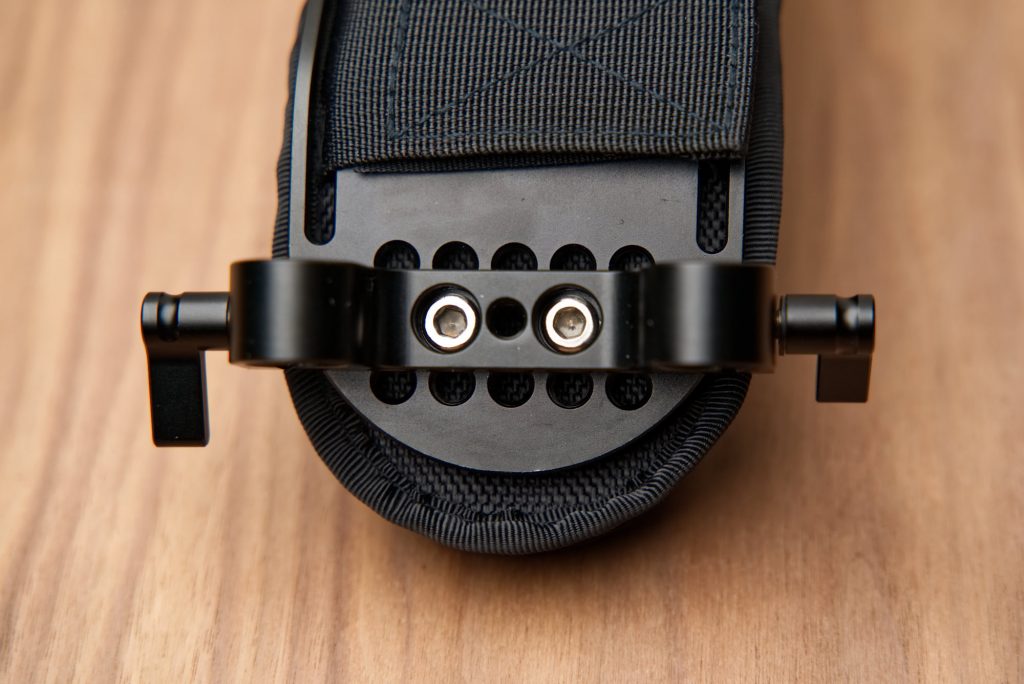
Take your shoulder pad and bolt the included 15mm rod clamp to the front middle row of threads using the included bolts. For extra security, you could use a third bolt from the bottom of the shoulder pad.

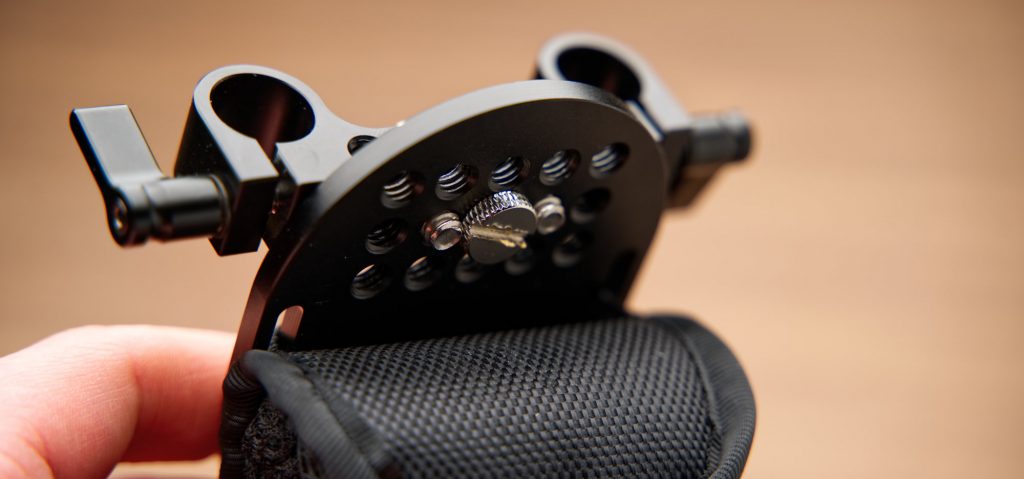
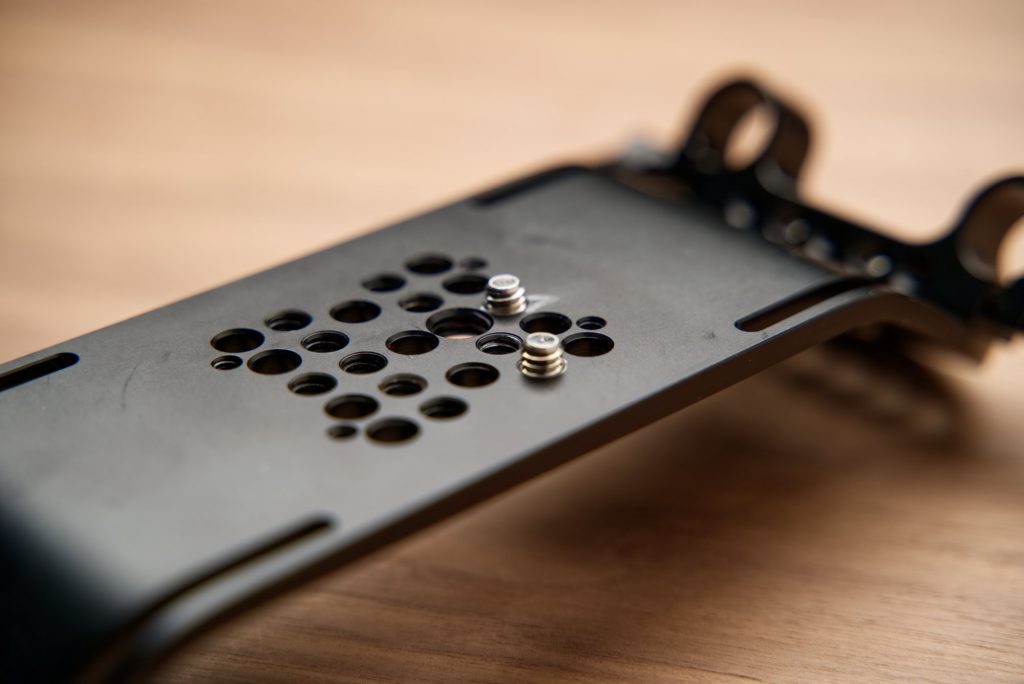
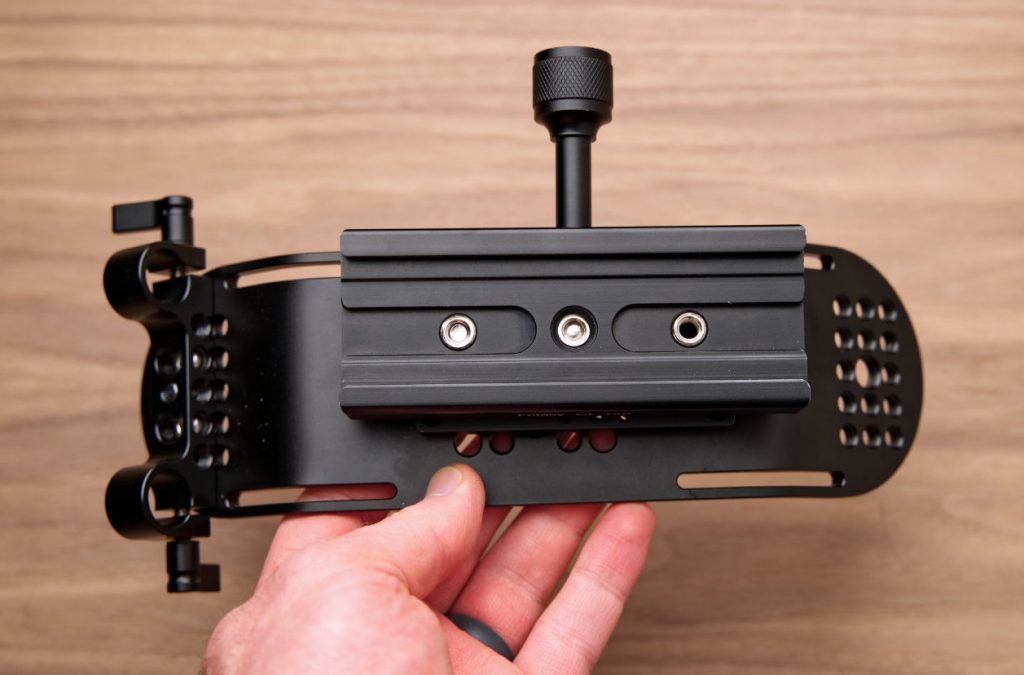
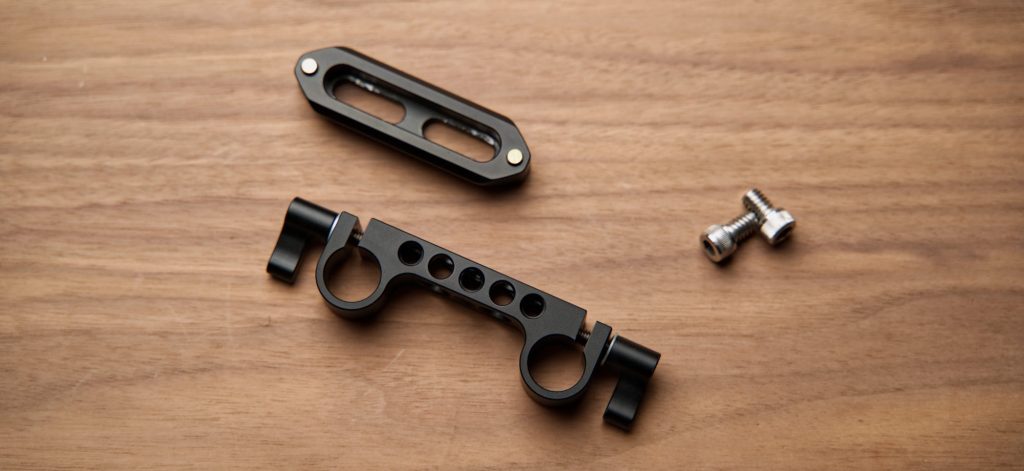
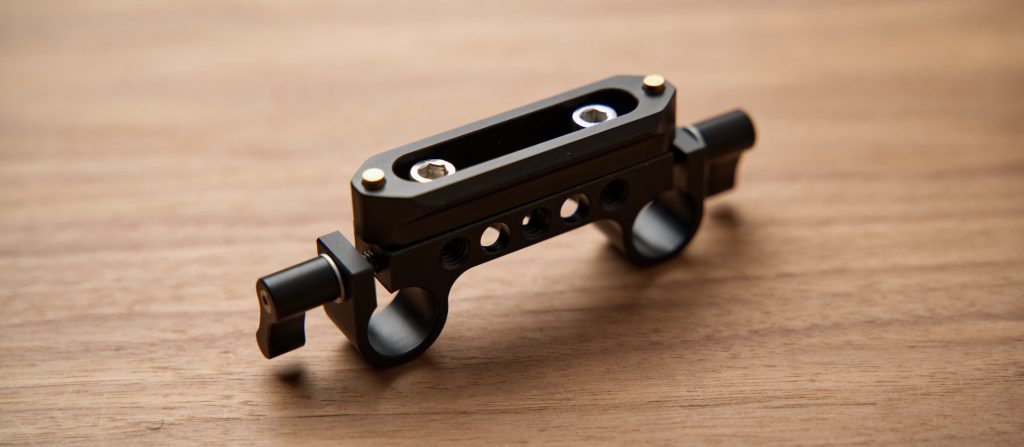
Next we need to mount the quick release clamp to our cheese plate. For my setup, I used the included tripod bolt and added a second bolt to one end. This gives us two bolt points for a secure setup.
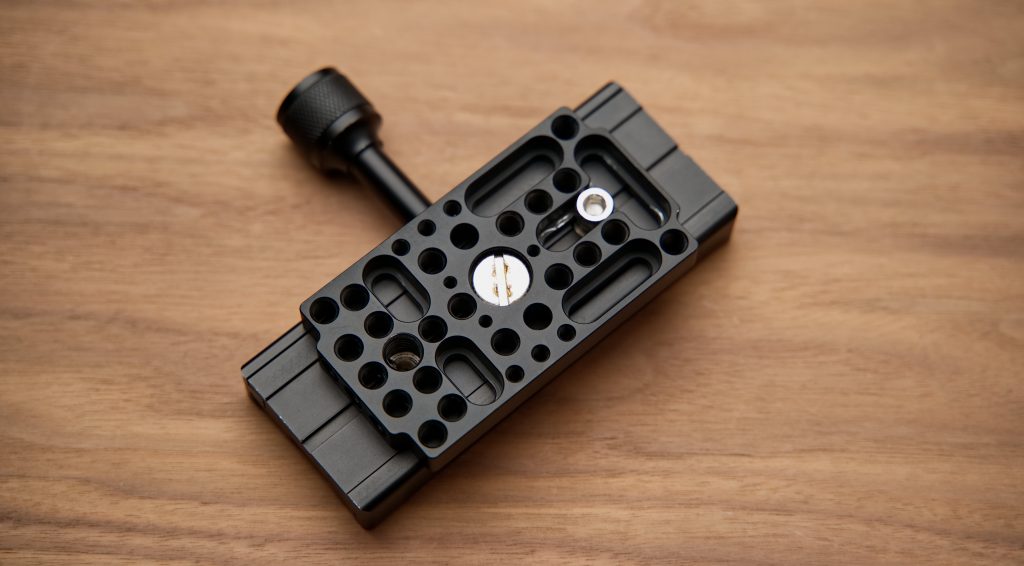
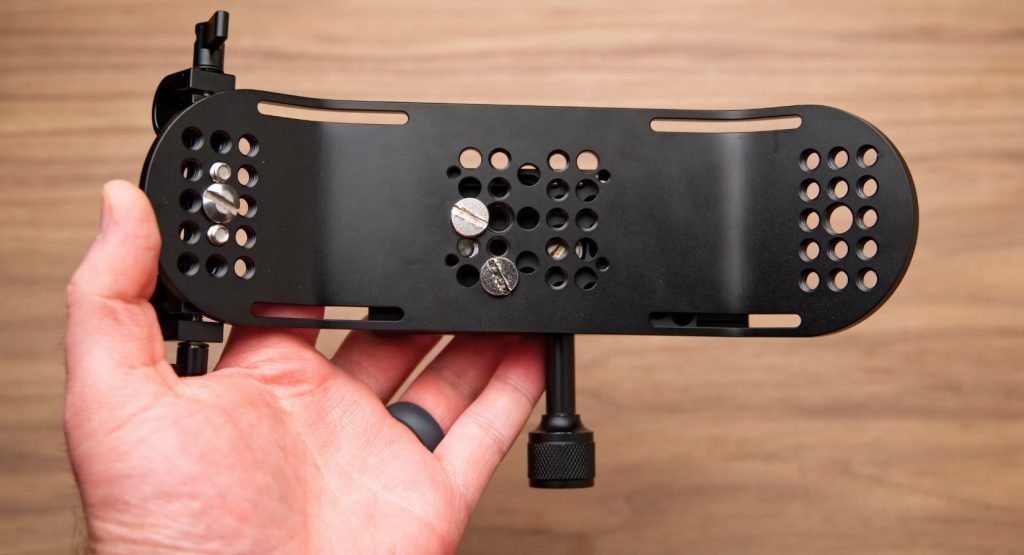
We can now bolt the quick release/cheese plate to our shoulder pad. Start by removing the velcro pad and add two tripod screws as shown below.
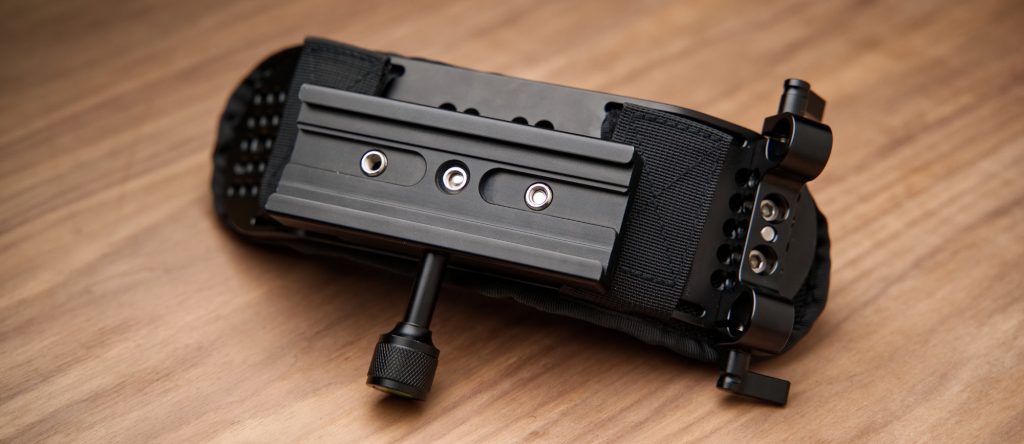
Next, attach the quick release/cheese plate setup we completed earlier. We can now re-attach the velcro pad to the shoulder pad. The final setup should look something like this:
You’ll notice the quick release is off center with the tightening knob facing away from the operator. This will keep the camera from hitting the operators face.
Step 2: The Handles
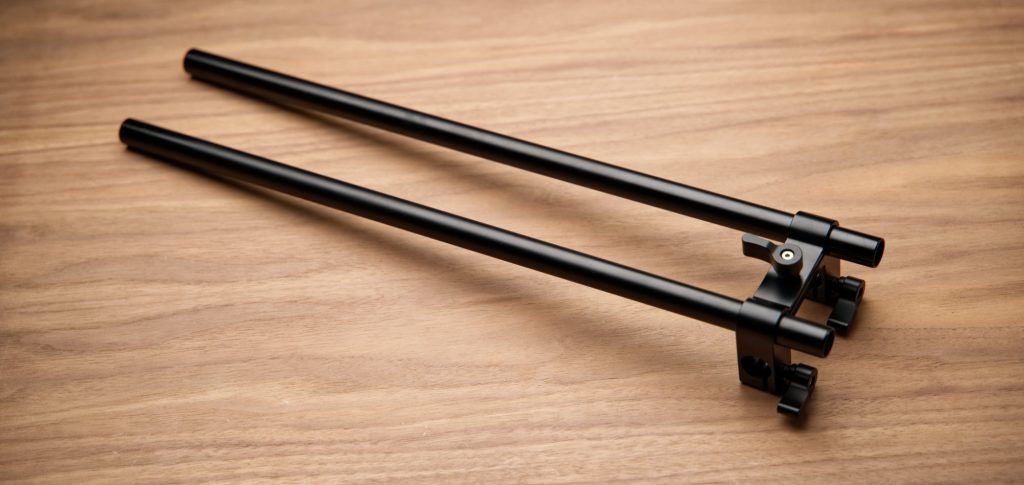
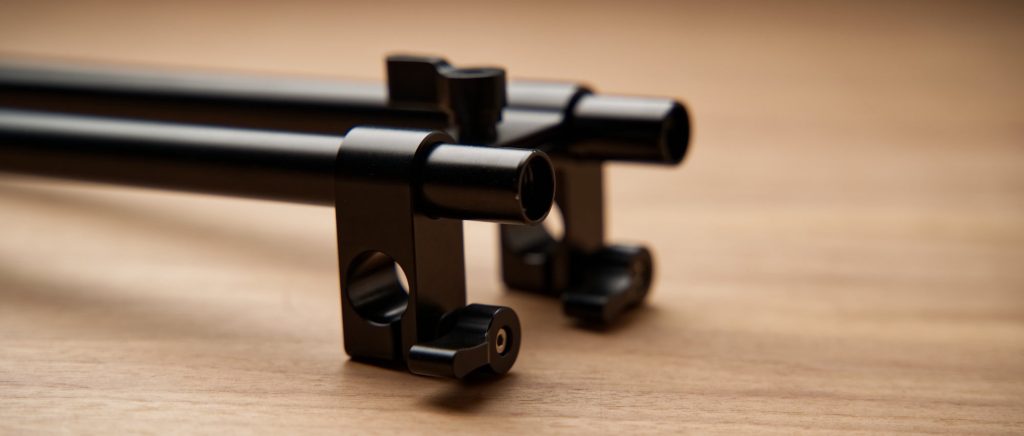
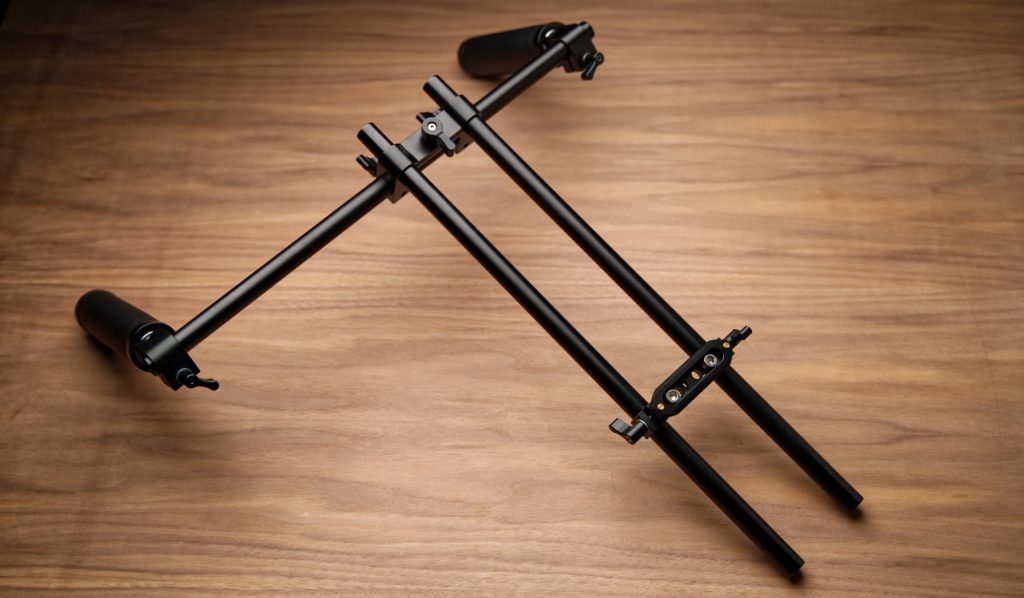
With the shoulder pad completed, we can now focus on the handles of the rig. Take two 16 inch 15mm rods and connect them to 90 degree rod offset.
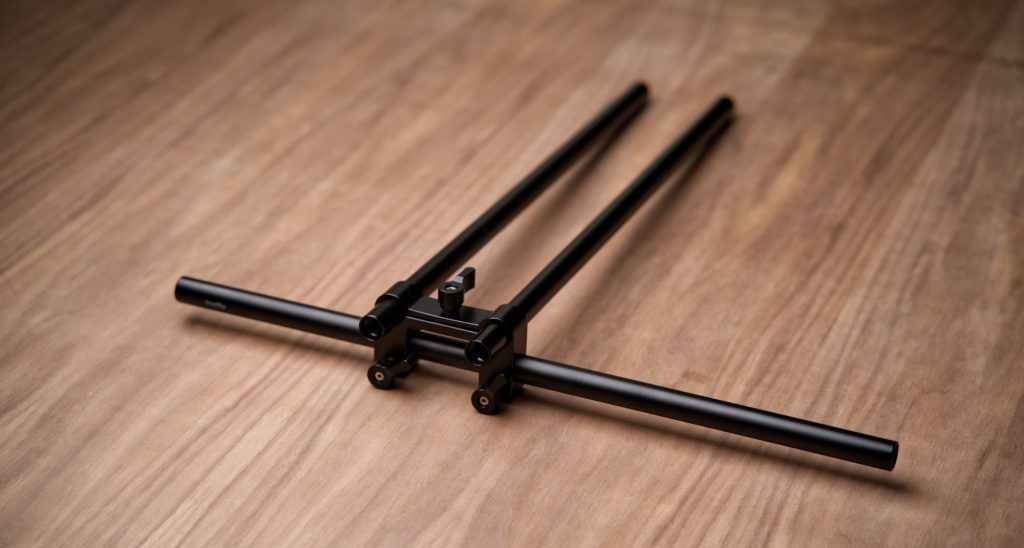
Next, add the third rod in the opposing direction and add your 15mm handles. You can also thread in the 15mm caps to keep the rods from sliding out.
Now we can take our nato rail, bolt it onto our spare 15mm rod clamp and mount it to the two parallel 15mm rods.
Next, add the 15mm handles to the handle rod.
Finally, mount the entire handle setup to the shoulder pad.
Step 3: The Follow Focus
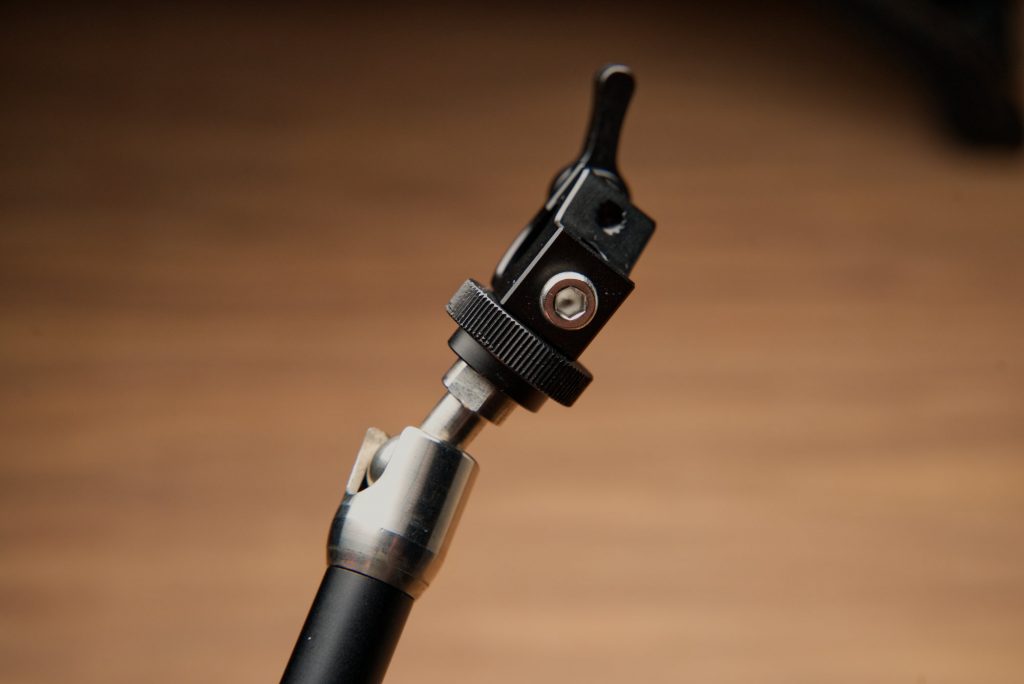
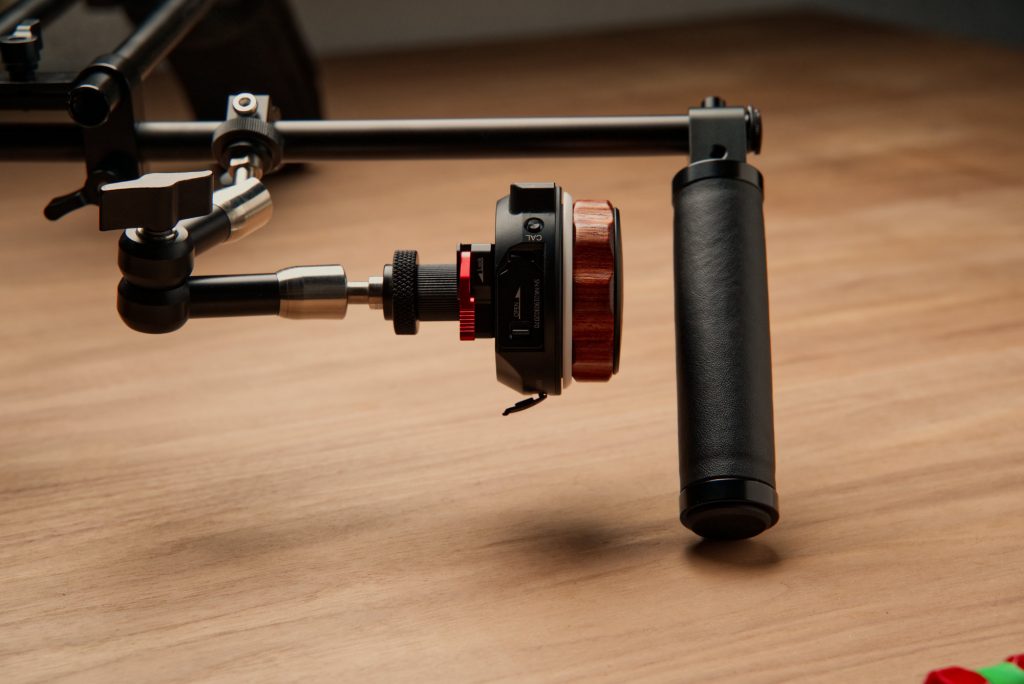
Now we can setup our Nucleus-Nano controller and motor. First we need to take our friction arm and thread it into the single 15mm rod clamp.
I like to add a 1/4 20″ bolt to the one side so that it bites onto the thread and keeps things from loosening.
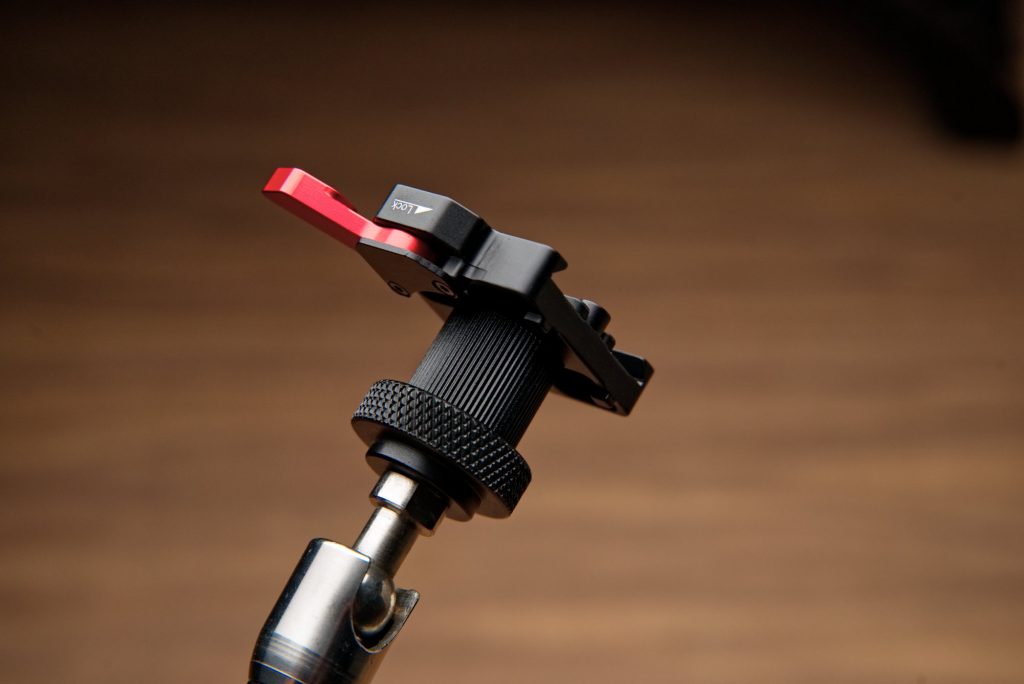
On the other end of the friction arm, add the large female 1/4 20 inch nut and bolt on the Nucleus quick release plate.
Now we can mount the entire setup to our horizontal handle bar and setup the focus controller in a comfortable position.
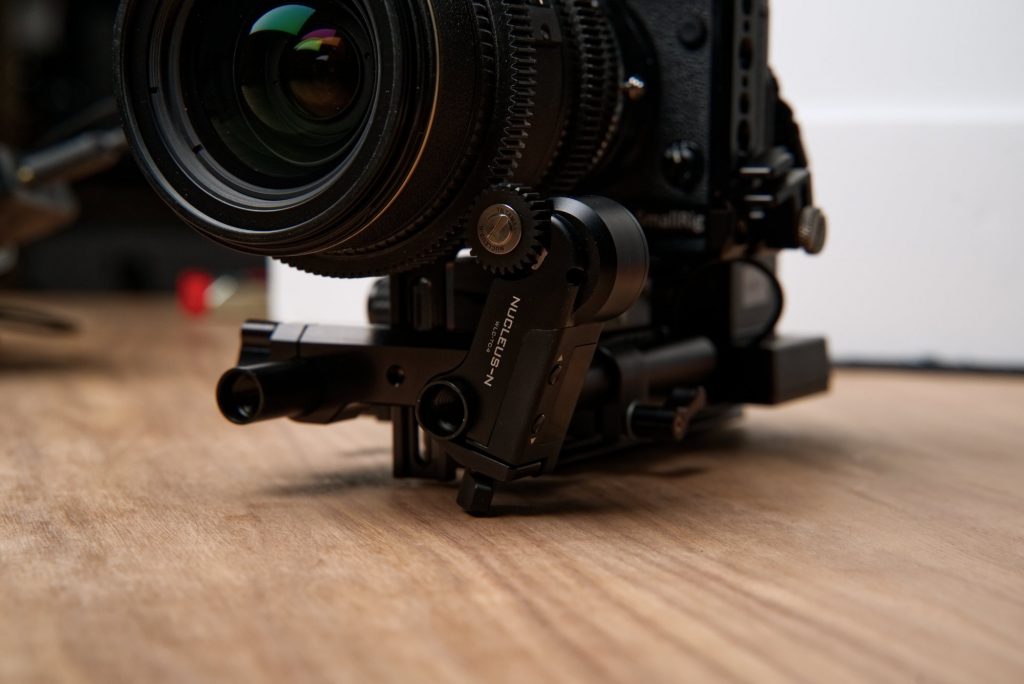
Now lets turn our attention to the focus motor. If you followed my handheld rig tutorial you already have 15mm rods on your camera. If not, you can use the 15mm plate that comes with the Nucleus kit to mount the motor.
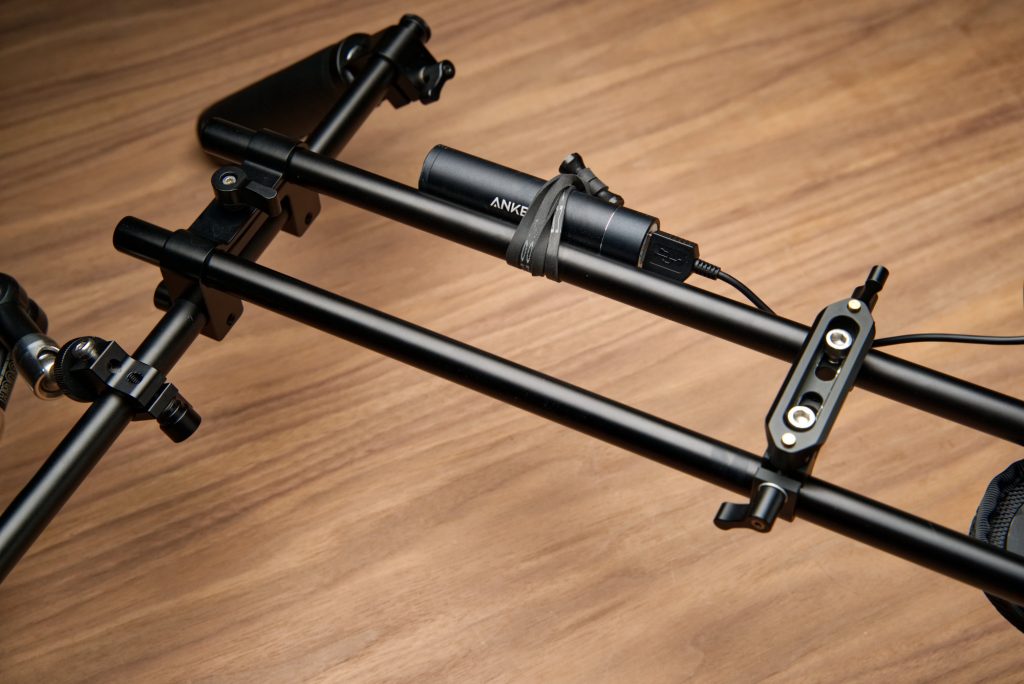
Unfortunately this little sucker doesn’t have a built in battery, so we need to supply 5 volts via a USB battery. The simplest method I’ve found is to use a bongo tie to secure a small USB battery to the 15mm rods and run a USB cable to the motor.
You can find the USB battery I used here on Amazon and these incredibly useful bongo ties on Amazon as well.
With that done you can now use add some focus gears to your lens and you’re ready to shoot!
Step 4: Adding a Monitor (Optional)
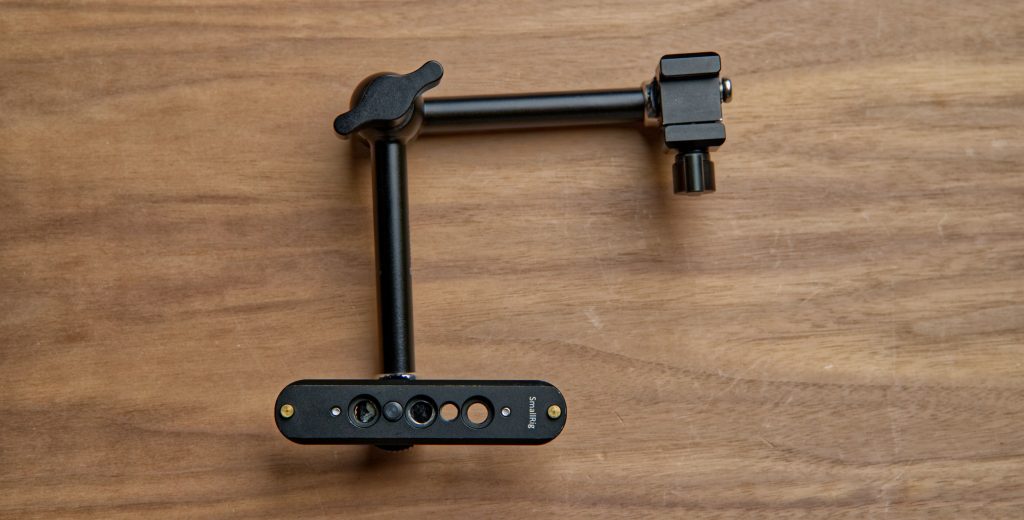
If you followed my previous handheld rig guide, you will have seen the monitor arm setup I built. That entire arm can be moved from the camera over to the nato rail we added to this should rig. Here are the parts needed if you skipped my other post:
- SmallRig 11 Inch Arm on Amazon
- Nato Clamp on Amazon
To put everything together, just follow Step 4 from this article.
Conclusion and Final Thoughts
So there you have it. A pretty straightforward shoulder rig that is comfortable, offers wireless focus and doesn’t break the bank! There are a few things I want to mention before we wrap up.
First, what if you don’t want to use the cage setup I mentioned in the video and our previous post? Simple, just use a 15mm base plate like this one on Amazon and mount it between the shoulder rig and the quick release. Now you can drop any camera onto the shoulder rig without the larger cage setup.
Another question I’m sure some will ask is how to dismantle the rig for travel. I would recommend detaching the handle setup from the two long rods. Next remove the two rods from the shoulder pad. You now have 3 smaller sections that can be easily packed into a case or bag.
I hope this post has been helpful to you in some way. If anything, I hope you now think a little differently about handheld footage! Let me know what you think of all this or what you would do differently!
Godspeed and happy filming!
