This guide is for people looking to modify their lenses to work well for video and film use.
Introduction
Before we get started here are some things your might want to know.
How Much Does This Cost?
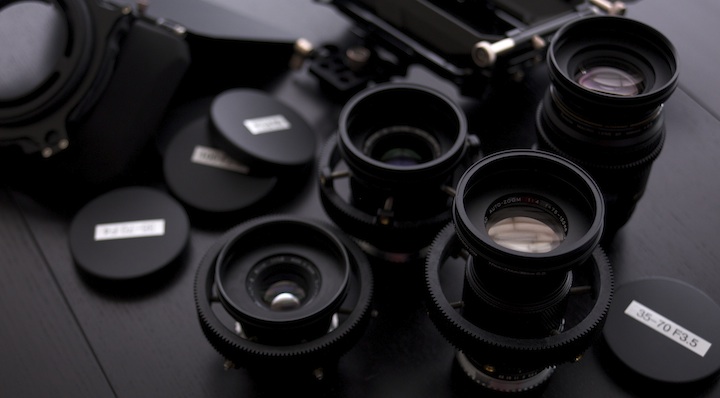
I got these three lenses online for $200 (Olympus OM 35-70 F4, 75-150 F4 and 50mm F1.8). The accessories I used to mod them cost $231:
- 3x $15 OM to Canon adapters
- 3x $40 Cinevate lens gears
- 3x $16 80mm Adapters
- 3x $1 80mm Caps
- 3x step up rings (around $5)
- TOTAL: $231
So for $431 I have three killer little lenses for video.
Which Lenses Are Best To Use For This Mod?
The lenses I’m using in this video are great cheap lenses, but they’re hardly the best choice for cinema use. Mainly because the two zooms move in and out and their front filter ring moves. But you can’t beat the price.
Primes are much easier and better to use in general so Zeiss, Leica R or other more affordable primes work great.
As for zooms, the Nikon AF-S lenses like the 17-35 F2.8, the 28-70mm F2.8 and the 80-200mm F2.8 are all great for this mod.
Can A Professional Do This For Me?
You bet. I’d be terrified of altering the aperture on a $2000 lens so I’d send my lenses to Duclos to have those lens masters take care of my glass. Their Cine Mod costs $60-$250 which isn’t bad at all given the quality of parts and work they offer.
The Cinema Lens Guide
Here is a step by step guide to converting your stills lenses to a cinema lens set.
Step 1: Convert the Lens Mount
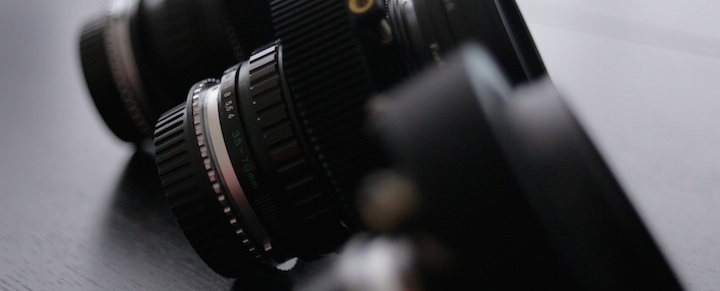
The first thing you obviously have to do is to get some lenses. In this video I used Olympus OM lenses and adapted them to Canon. But there are loads of other brands you could use. Check out my guide on manual lenses to find the right set for you. On that page you’ll be able to find the right adapter for your camera.
Step 2: Declick the Aperture Ring

You can do this yourself by searching Youtube for a tutorial on the lens you have or you can have it professionally done by the lens masters at Duclos for $60/lens. I’ll have some videos on declicking OM lenses soon.
Step 3: Lens Gears
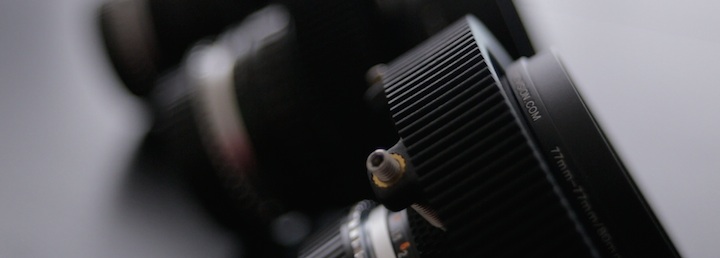
The next step is adding 0.8 pitch cinema lens gears to your lenses. There are several different brands you can use but my favorites are the Cinevate gears and the Half Inch Rails Fat Gear.
Step 4: Cordvision 80mm Cine Rings
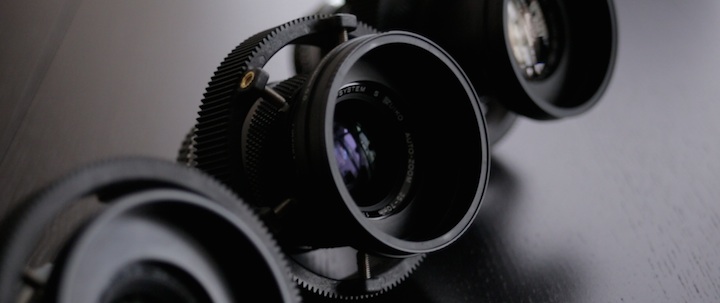
When it comes to using cine gear (like matte boxes matte box filters) with photo gear (DSLR lenses, setup up rings etc) there is a problem. Cinema lenses and adapters have 3 standard filter thread sizes: 80mm, 95mm and 114mm. Where as photo lenses and setup ups have completely different sizes (77mm, 82mm etc). This causes some problems. For example, you can take a matte box and clamp in right onto a cinema lens and still use the lens filter thread. Super cool. But you can’t do that with a photo lens or even the Rokinon Cine primes. I can’t afford cinema glass, so I did some research and found Cordvision’s 80mm Cine rings. These rings will adapter your smaller 52-77mm lenses to a cinema friendly 80mm outer diameter lens ring. Now not only will your matte box attach direction to your lens, but you also still get to use the 77mm filter thread on the lens! Your other option is to get the 80mm Ring from Duclos.
I know that was a lot of information, but trust me, its a big deal. Check out this video for more info on the 77-80mm rings.
Step 5: Push on Caps
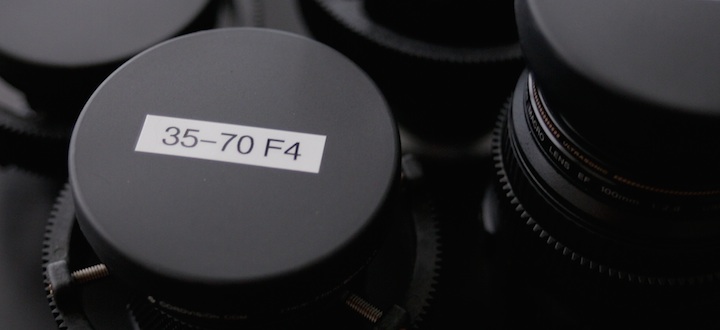
Final step is to add 80mm caps. You can get really 80mm push on cine caps from Duclos for $25 or you can get the cheap 80mm push on caps I mentioned in the video for $1.
Other Gear Mentioned
- Genus 80mm Clamp on Adapter – This adapter allows you to clamp the matte box directly onto the lens for a perfect fit. My lenses all have an outer diameter of 80mm (thanks to the adapter we looked at earlier) so now I’m gold.
- Genus Matte Box Lite Kit – This is the Matte box I used in this video.
- Xume Adapters – Killer magnet filter holders.
Conclusion
So there you have it, a couple tips for cine modding your stills lenses. Let me know what you guys think and share your own tips with us!