Today I share an audio kit that is 100% wireless (boom pole, lav mic AND headphones) and 100% USB rechargeable! Full list of gear used can be found below.
NOTE: At the bottom of this page you will find a video showing the entire build process of this kit step by step. Be sure to watch that video before asking any questions as I got over a lot of details there.
Parts Used
Below you will find all the parts used to create this audio kit. Before we move forward I want to get the following disclaimer in:
We are a participant in the Amazon Services LLC Associates Program, an affiliate advertising program designed to provide a means for us to earn fees by linking to Amazon.com and affiliated sites. Many of the links below are affiliated and will be denoted as “on Amazon” next to the link.
With that out of the way, lets get to the parts!
Orca-28 Audio Bag
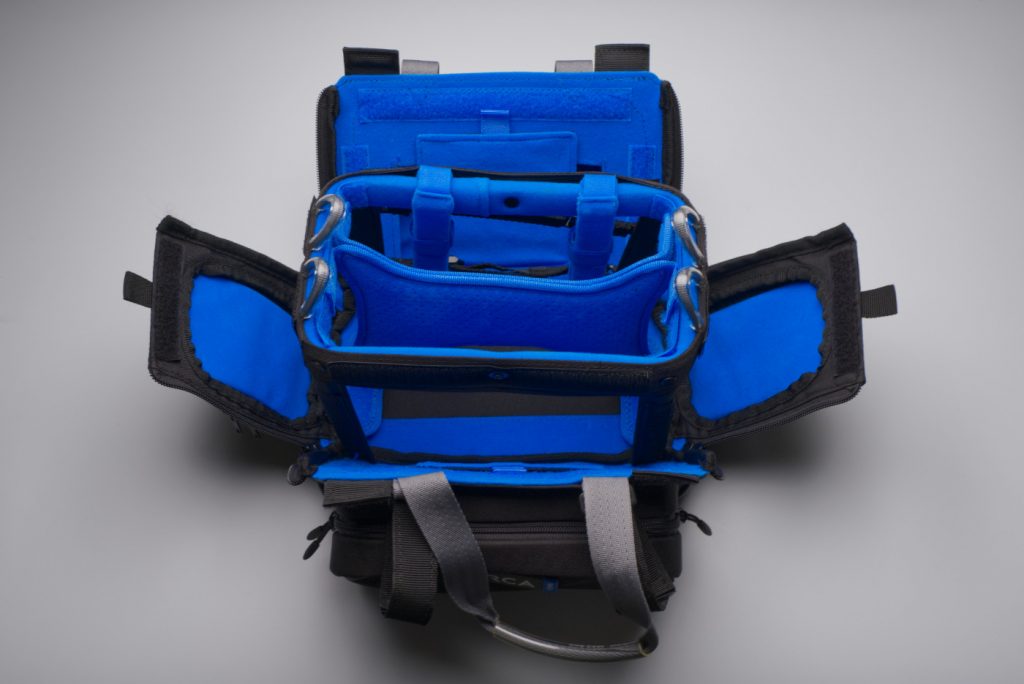
The Orca-28 is the perfect audio bag in my opinion. Just large enough to give you some flexibility without getting crazy.
Deity Connect
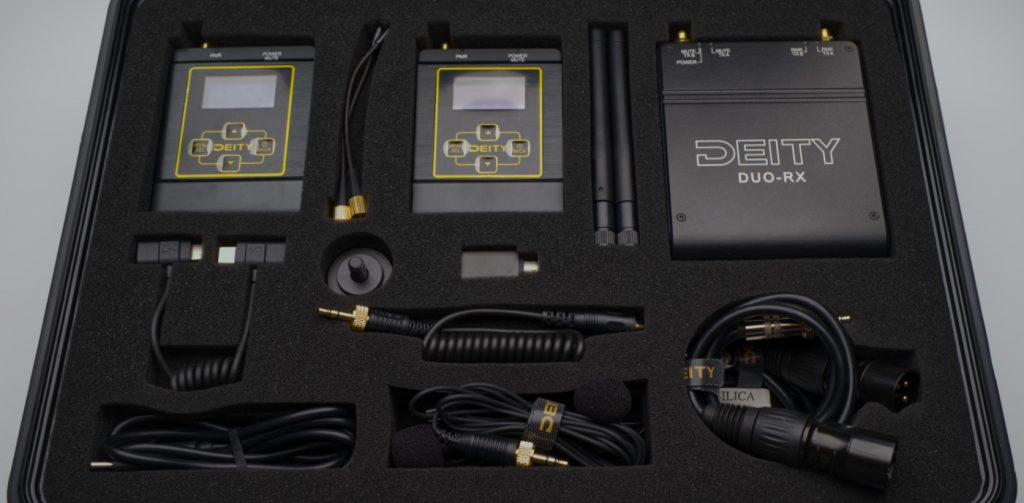
The Deity Connect system is the most advanced wireless audio kit in it’s price class. You get two transmitters and a bag style receiver.
Sound Devices MixPre-3
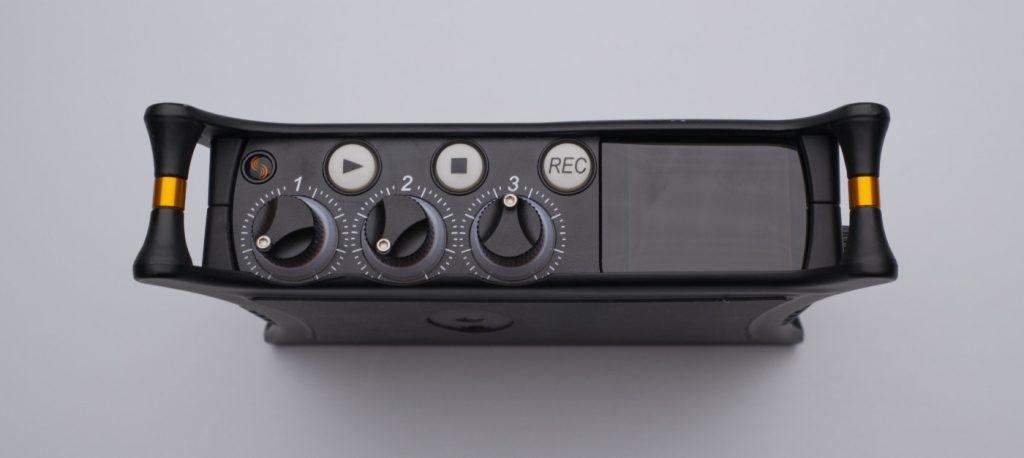
I’ve been using my MixPre-3 since it came out and can’t praise it enough. Not the cheapest option but one that I swear by now.
USB Battery
Available on Amazon.
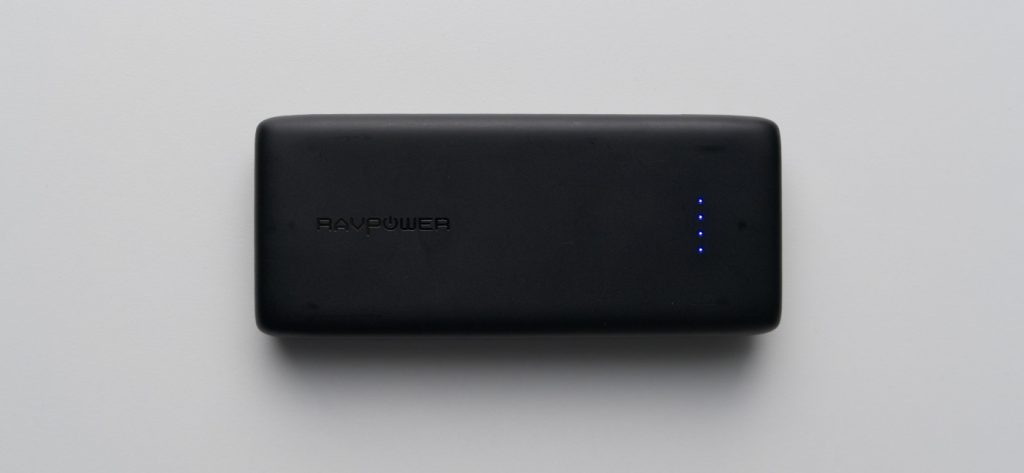
To power the MixPre-3 you can use pretty much any USB battery. I’d recommend a battery that can support 2.0 amps or more. Keep in mind most other audio recorders will also power up over 5v (Tascam, Zoom etc).
Boom Pole

You can use any boom pole but the model I went with is the K-Tek KE79CCR Avalon Series Traveler. This is the aluminum version and it JUST the right size for most of my projects. Not the lightest, longest but man do I love the travel size! This particular model has the right angled XLR output making for a tidy wireless pole.
Shotgun Microphone
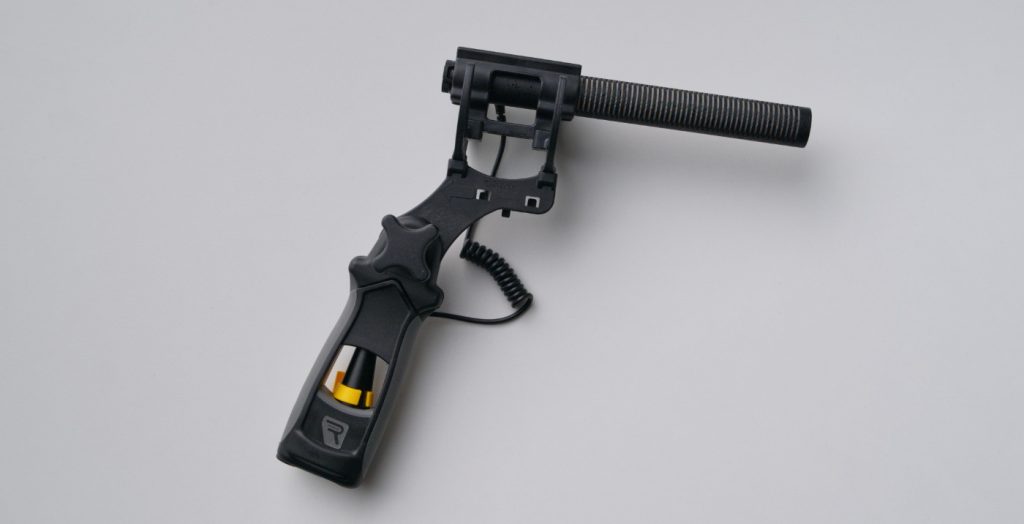
For my travel kit I’m going with the Deity D3 Pro. Not my favorite microphone but for the money and features, it is perfect for this kit. You can use anything that does NOT require 48v phantom power. If you’re skipping the wireless boom pole, than any XLR mic will work.
I bought the kit that included the rycote pistol grip so a mic mount was already included.
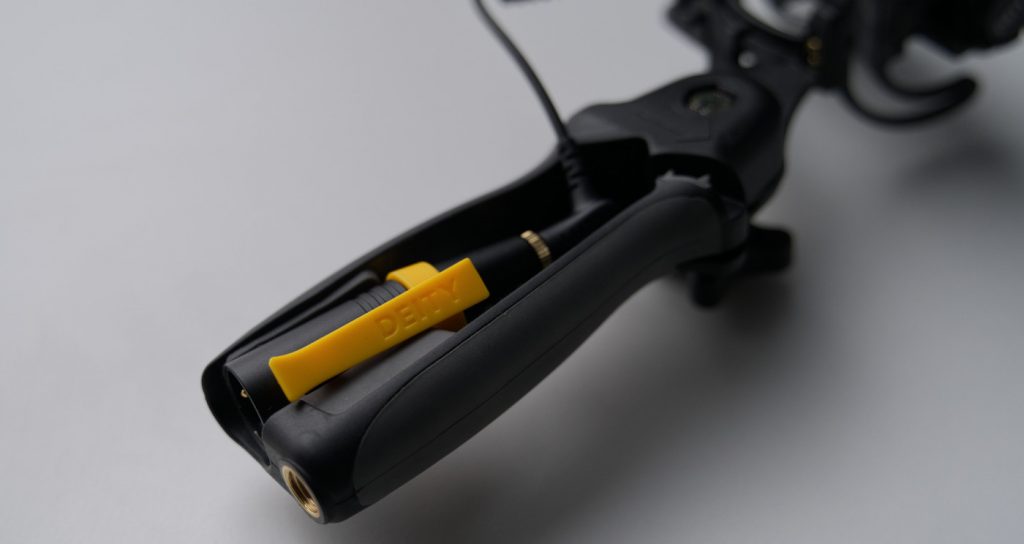
IMPORTANT: If you’re trying to replaceable this wireless boom mic setup, make sure you also get the D-XLR adapter from Deity. It comes with the kit linked to above.
Boom Pole Quick Release
Available on Amazon.
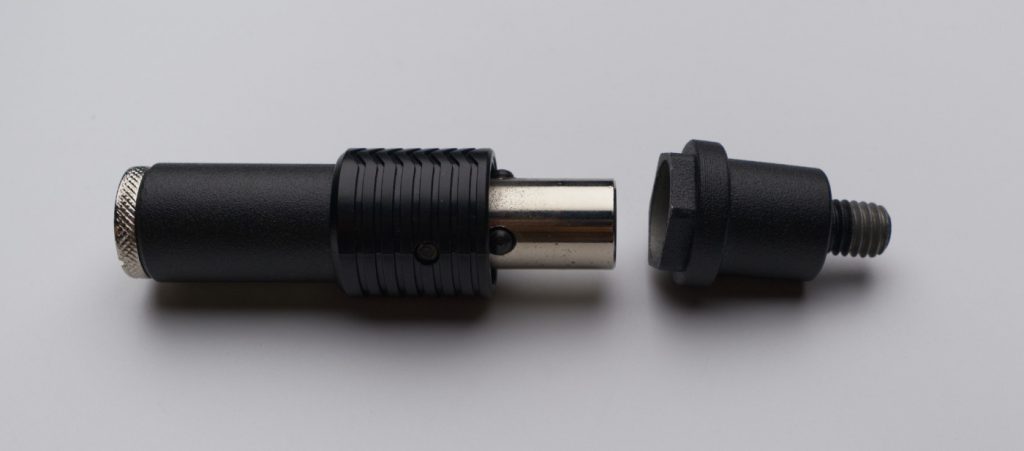
When researching this kit I came across the Gravity MSQC 1B mic coupler and am so glad I did! This killer little adapter allows you to quickly remove your microphone from your boom pole rather than un-treading the mic mount every time you pack up. Most mic couplers cost quiet a lot, but this little gem is only $12!
Apex Transmitter Strap
Available on Amazon.
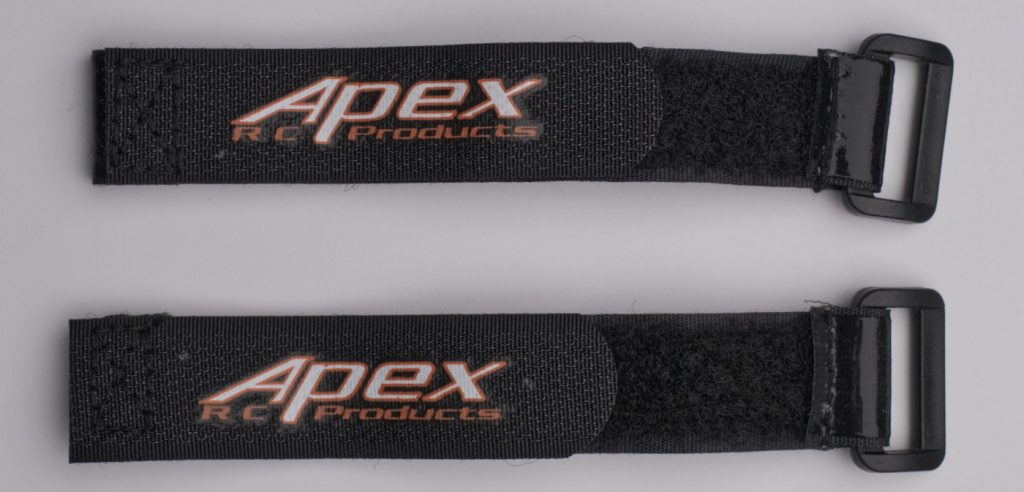
To mount our transmitter to our boom pole we will need some sort of strap. I recently found these Apex straps and they are perfect for our kit. These velcro straps have a rubber size that grips onto the boom pole preventing slip.
XLR to 3.5mm Cable
Available on Amazon.
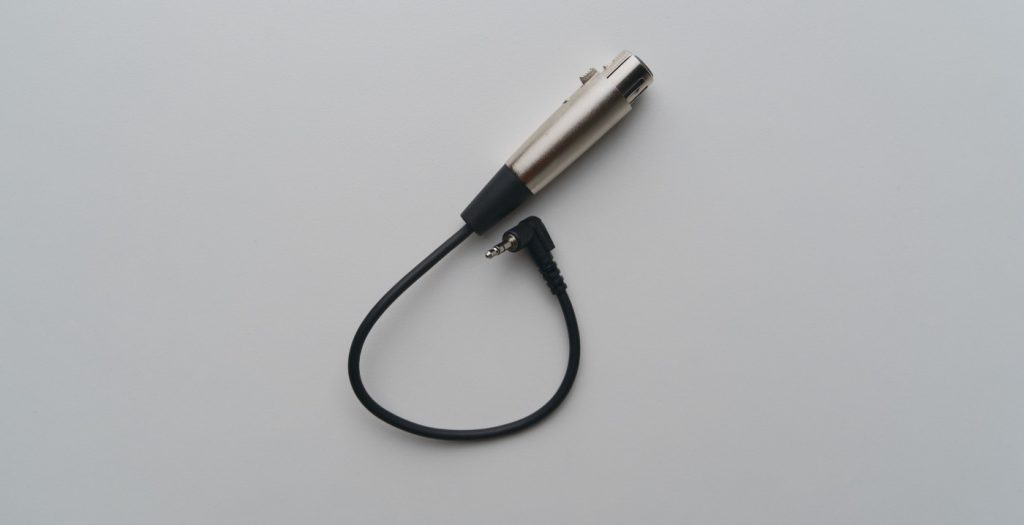
This cable will connect our Boom pole to our Deity transmitter.
Sony MDR 7506 Headphones
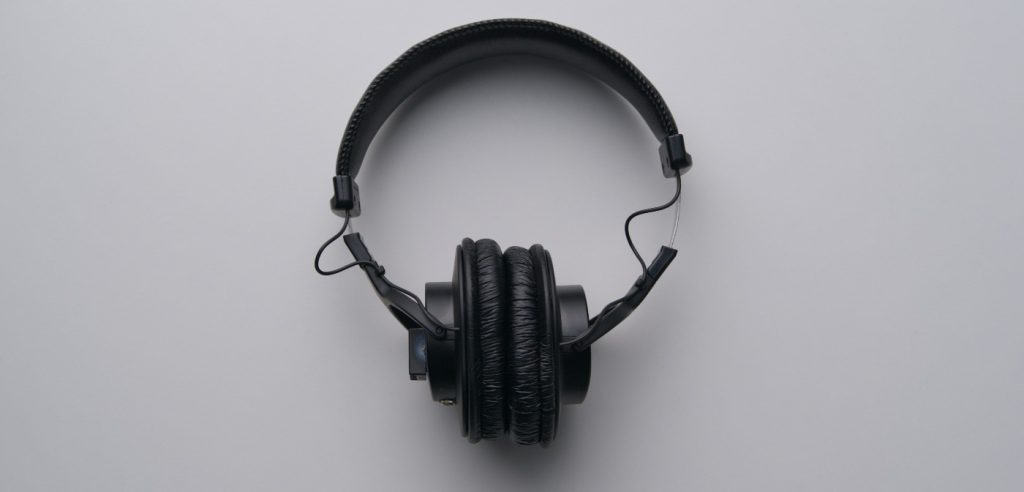
You can use any pair of headphones but I went with my trusty Sony MDR 7506s. To tidy things up I modded the cable output to become a female 3.5mm jack so I can use any cable length.
Headphone Strap
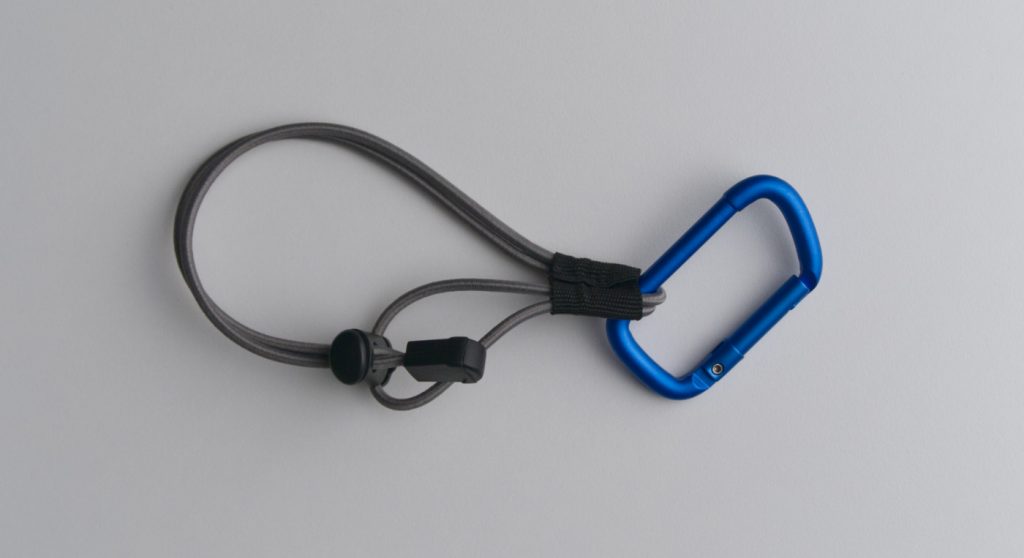
This little strap allows us to mount our headphones directly to our bag. Simple solution that works great!
Rode Wireless GO
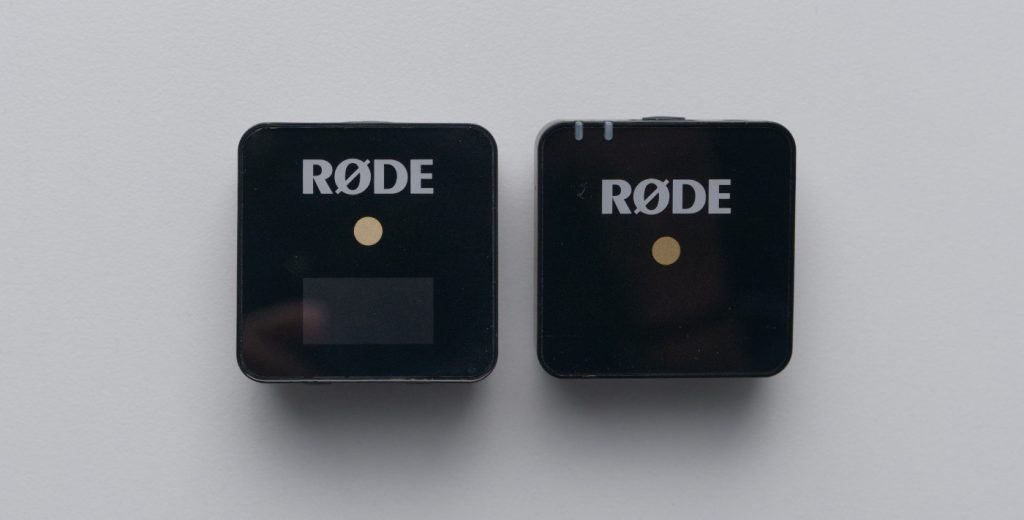
To wirelessly transmit audio from my bag to my headphones, I ended up using the Wireless GO kit. Optional, but wireless headphone monitoring really completes this kit!
Short 3.5mm Cable
Available on Amazon.
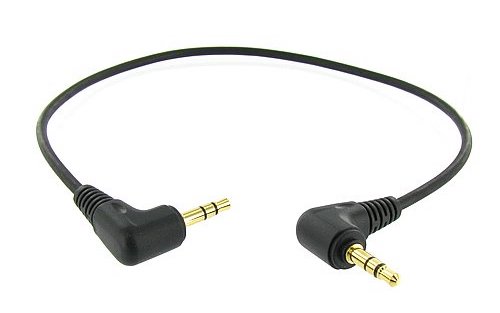
To connect my modded headphones to the Wireless GO receiver, I used this tiny 3.5mm patch cable. Love these things!
USB Hub/Splitter
Available on Amazon.
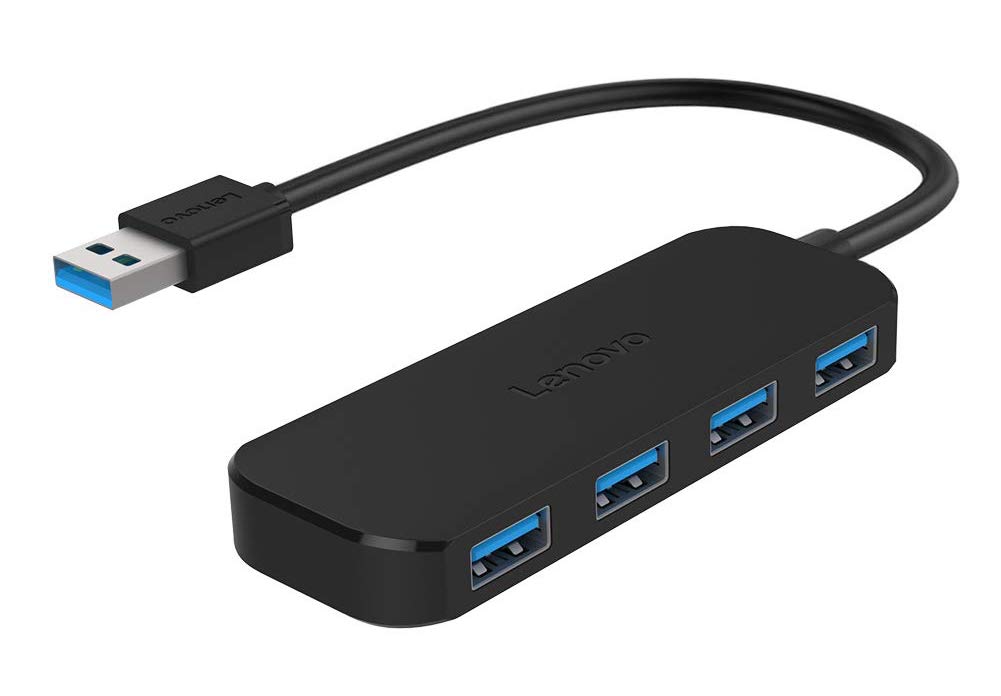
For my bag, I wanted a way to power/charge everything over a single USB cable. To accomplish this I used a cheap USB hug and ran USB cable from it to all devices and pockets within the bag.
USB Cables
To run power to everything you’ll need a few USB cables. I’d recommend 2 to 3 foot lengths.
Building the Audio Kit
Below you’ll find a video where I show you step by step how to put together the audio bag I’m using. If you have any questions let me know and I’ll do my best to help out!
Video Timestamps:
- 0:25 Orca bag setup
- 6:05 Running power cables
- 7:22 Setting up the receiver
- 9:17 Power for audio recorder
- 10:19 Wireless headphones setup
- 13:40 Headphone holder
- 15:00 Boom pole setup
DISCLAIMERS:
Some of these links have an affiliate code, if you purchase gear with these links I will receive a small commission at no additional cost to you. Thank you!
This video was not paid for by outside persons or manufacturers.
Deity did supply me with the Deity Connect wireless kit shown in this video.
The content of this video and my opinions were not reviewed or paid for by any outside persons.