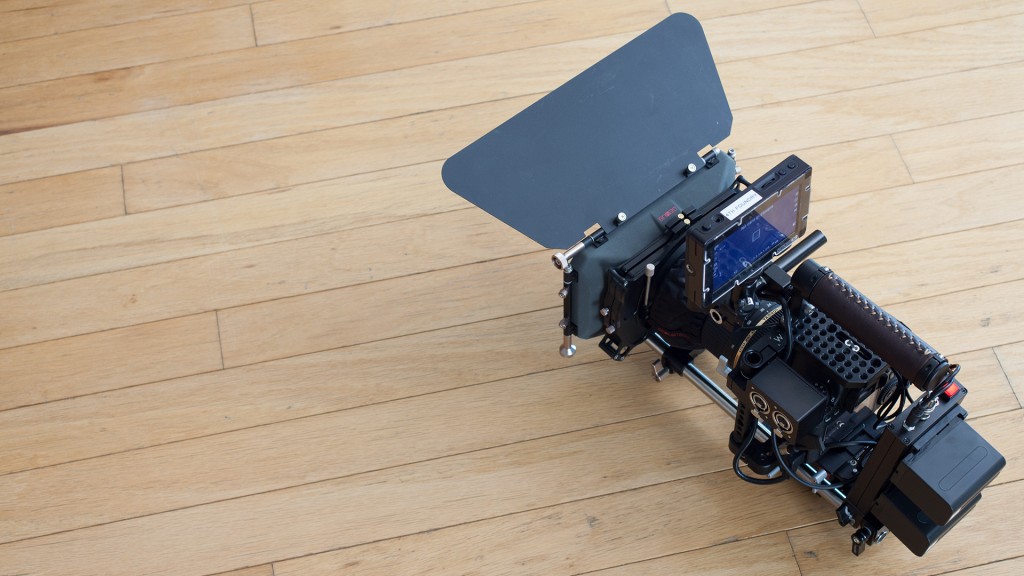
I’ve had a lot of requests for a breakdown of my DSLR cinema rig. In this video I’ll share with you how I assemble it. You can easily modify the rig to fit almost any shooting need like switching the handle around, removing the cage and camera for light shooting and more.
Gear List
Here is a list of parts that make up this DSLR cinema rig.
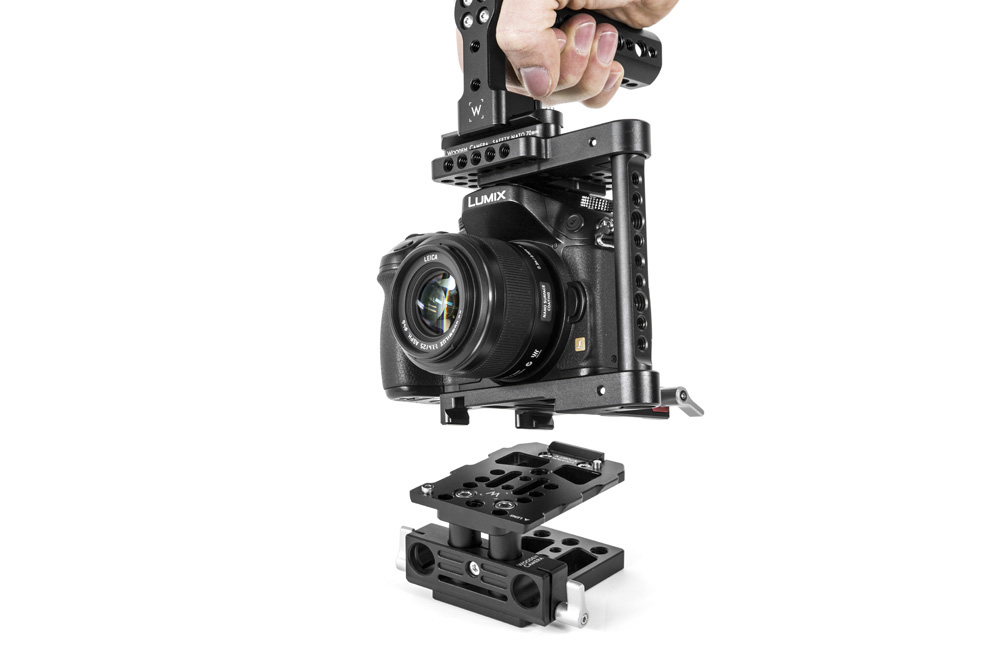
Camera Cage

I use the Wooden Camera Quick Cage and swear by it. You can get this cage for small, medium and large cameras. On the cage I have the Wooden Camera A-Box.
15mm Rods

For rods I’ve been using these 12 inch stainless steal 15mm rods from Redrock. I’ve had them for 4 years now and they have been troopers.
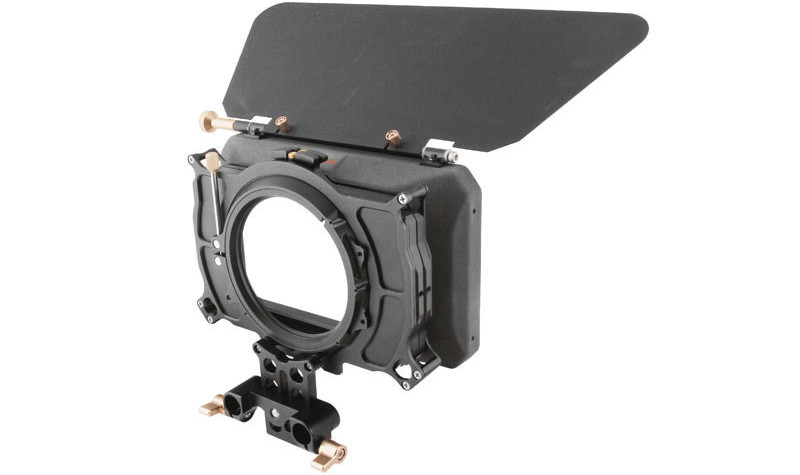
Matte Box

For the matte box, I use Genustech gear. They have the best lightweight, quality and affordable matte boxes I’ve found. In this video I showed you the PV matte box, but the Genus Matte Box Lite is also a great option.
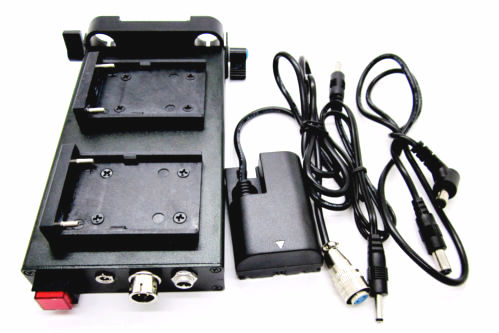
Battery Plate

I’ve been using this battery plate for a while and really like it. It allows me to use cheap Sony NP-F970 batteries with my DSLRs. You can also add this SmallRig rod clamp to make the plate a little more stabile.
EVF Mount

This is a custom mount I’ve made with random parts I had laying around. You can watch my how to tutorial for it here.
Conclusion
So thats the cinema rig. I’d love to see what you guys have made using various rigs and parts. Share a link here or on our Facebook page!