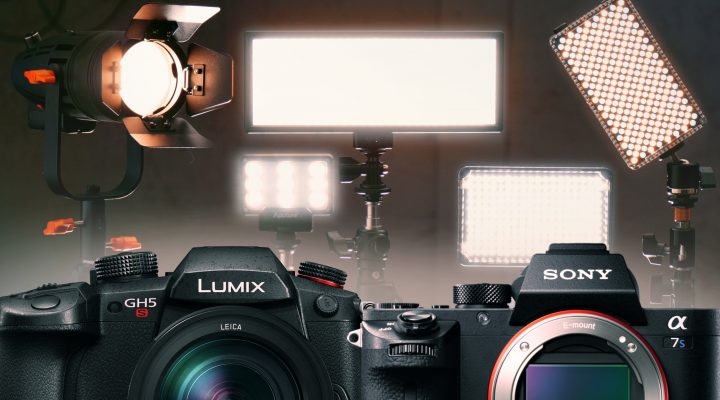
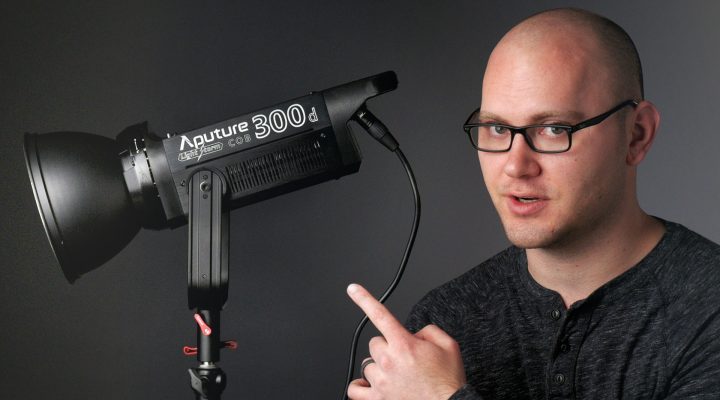
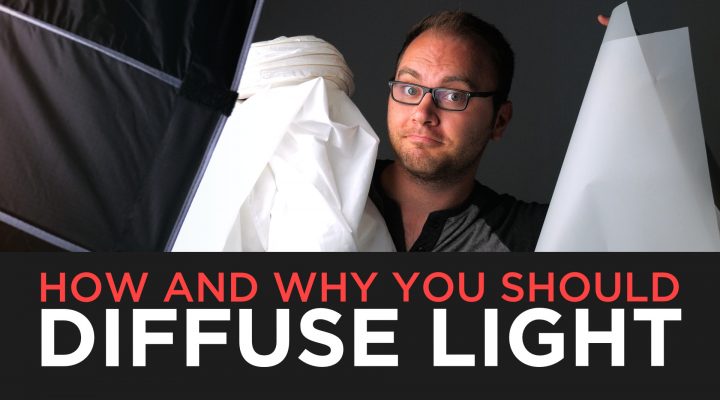
Lighting

I’ve been wanting a hassle free way to mount 2 lights on a single c-stand so I wouldn’t have to deal with 3 or more stands for my key light. Here is what I came up with. There are probably some better ways to mount the scrim, but this way was cost effective. All I needed was the triple header.

Read the full article →

{ 2 comments }

I’ve really enjoyed working with the TorchLED Bolt. I highly recommend you invest in one or two of these. I’ve used mine for a background light, rim/hair light, catchlight and in some cases a fill light. Such a great little light to have in your bag for any project.

You can find the TorchLED Bolt light on Amazon and B&H Photo Video.

Read the full article →

{ 3 comments }

impact

I have been using the Impact Octacool-9 Kit for a while now and thought I’d share a quick review with you guys.

Quick take:

Pros: Soft light, adjustable light levels, not hot lights, well built.

Cons: Slight green hue, takes time to setup, no switch on the cord.

The Kit

The kit consists of 2 light units (9 bulbs each), a collapsible soft box for each light, an inner baffle for each light and 2 heavy-duty impact air cushioned light stands.

Read the full article →

{ 0 comments }

In November I was asked to film and edit a short video covering the Moody Help-Portrait site here in Chicago. I am so glad I had the opportunity to get involved! Met some awesome people and was encouraged by the whole event.

Read the full article →

{ 5 comments }

Disclaimer: I was given this item for free in exchange for a review. But like all my reviews I am being as objective as possible.

I have used a lot of C-stands on sets in the past but never owned one myself. But B&H Photo Video offered to send me one for review and I had the chance to use it on a several projects.

Impact Master Century Stand

Read the full article →

{ 2 comments }

I have been super impressed with this LED panel. Here are some of my thoughts:

  • Daylight Balanced – If you have Tungsten (3200K) lights you will need to convert them to daylight or visa-versa.
  • Small – These will be awesome for traveling.
  • Dimmer – Great feature for getting the luminance perfect.
  • Battery – If you can get the battery version I would.
  • Light Power – I have the 600 version, seems a wee bit weak for anything other than 1 person interviews etc. You might want to consider getting a 900 or 1200.
Here is the breakdown of the different Models:
_______________________________________________________________________________________

The ePhoto 600 is the Smallest size panel in the series. I found it makes for a great 1 subject light or background light to support larger lights.

  • 600LED, 14.8V DC power, Voltage: 110V-230V
  • 5400K LED color temperature, with 3 gels
  • Size: 12″ x 12″ x 2″ Weights: 5lbs
_______________________________________________________________________________________
The ePhoto 900 is the second highest powered LED in the light series. I found this to be the best model to by first if you are getting started with LED lights.
  • 1200 LED, 24V DC power, Voltage: 110V-230V
  • 5400K LED color temperature, with 3 gels
  • Light intensity: 1m :9500 lux, 2m :3300 lux 3m :1600 lux
  • Size: 16″ x 12″ x 2″ Weights: 6.5lbs
_______________________________________________________________________________________
The ePhoto 1200 is the most powerful of the LED series and makes for a great indoor key light or outdoor fill.
  • 1200 LED, 24V DC power, Voltage: 110V-230V
  • 5400K LED color temperature, with 3 gels
  • Light intensity: 1m :9500 lux, 2m :3300 lux 3m :1600 lux
  • Size: 16″ x 12″ x 2″ Weights: 6.5lbs
You can find a bag for these lights here.

Read the full article →

{ 11 comments }